Chinese New Year is right around the corner, and you know what that means: new clothes, new outfits, and the best OOTD to flaunt on your Instagram (or whatever new social media the youngsters use nowadays).
But that comes with its own challenges.
Unlike professional photographers who are armed with expensive cameras and photo editing software, some of us regular joes will have to settle with just our phones and the basic photo editing software in the camera app. And even that can be complicated sometimes.
If you’re having difficulty wrapping your head around all the technical photography terms, here’s an easy-to-follow guide that will help you enhance all your photos, from OOTDs to food pics.
For this article guide, we sourced awesome photos from around our office and made them better with just the Photos app on an iPad Air (5th Generation). The photos were taken on both iOS and Android devices.
Editor
Jennifer chevron_right
Table of Contents
Night Life
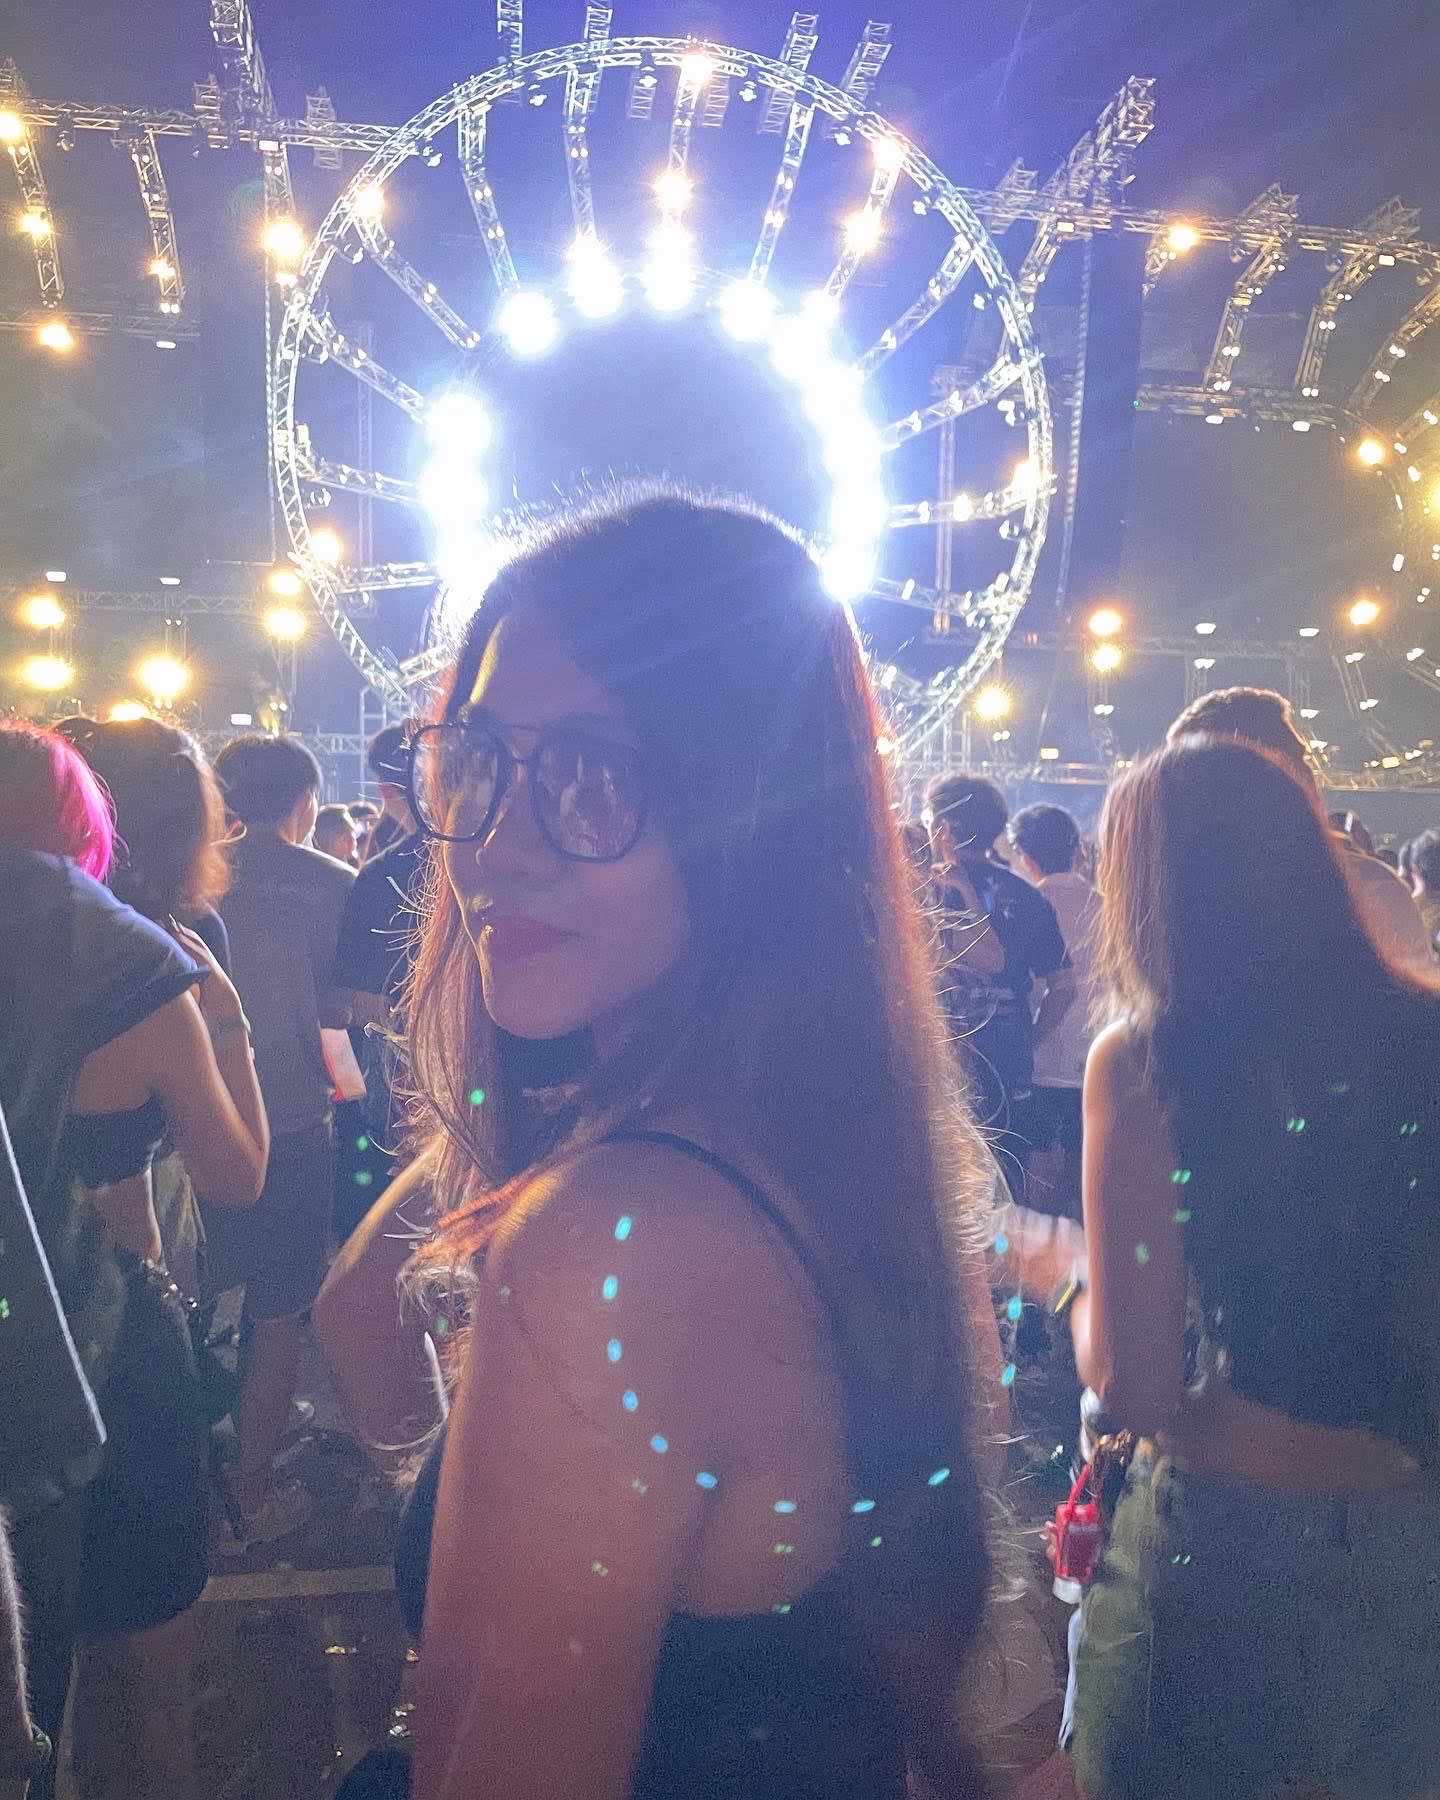
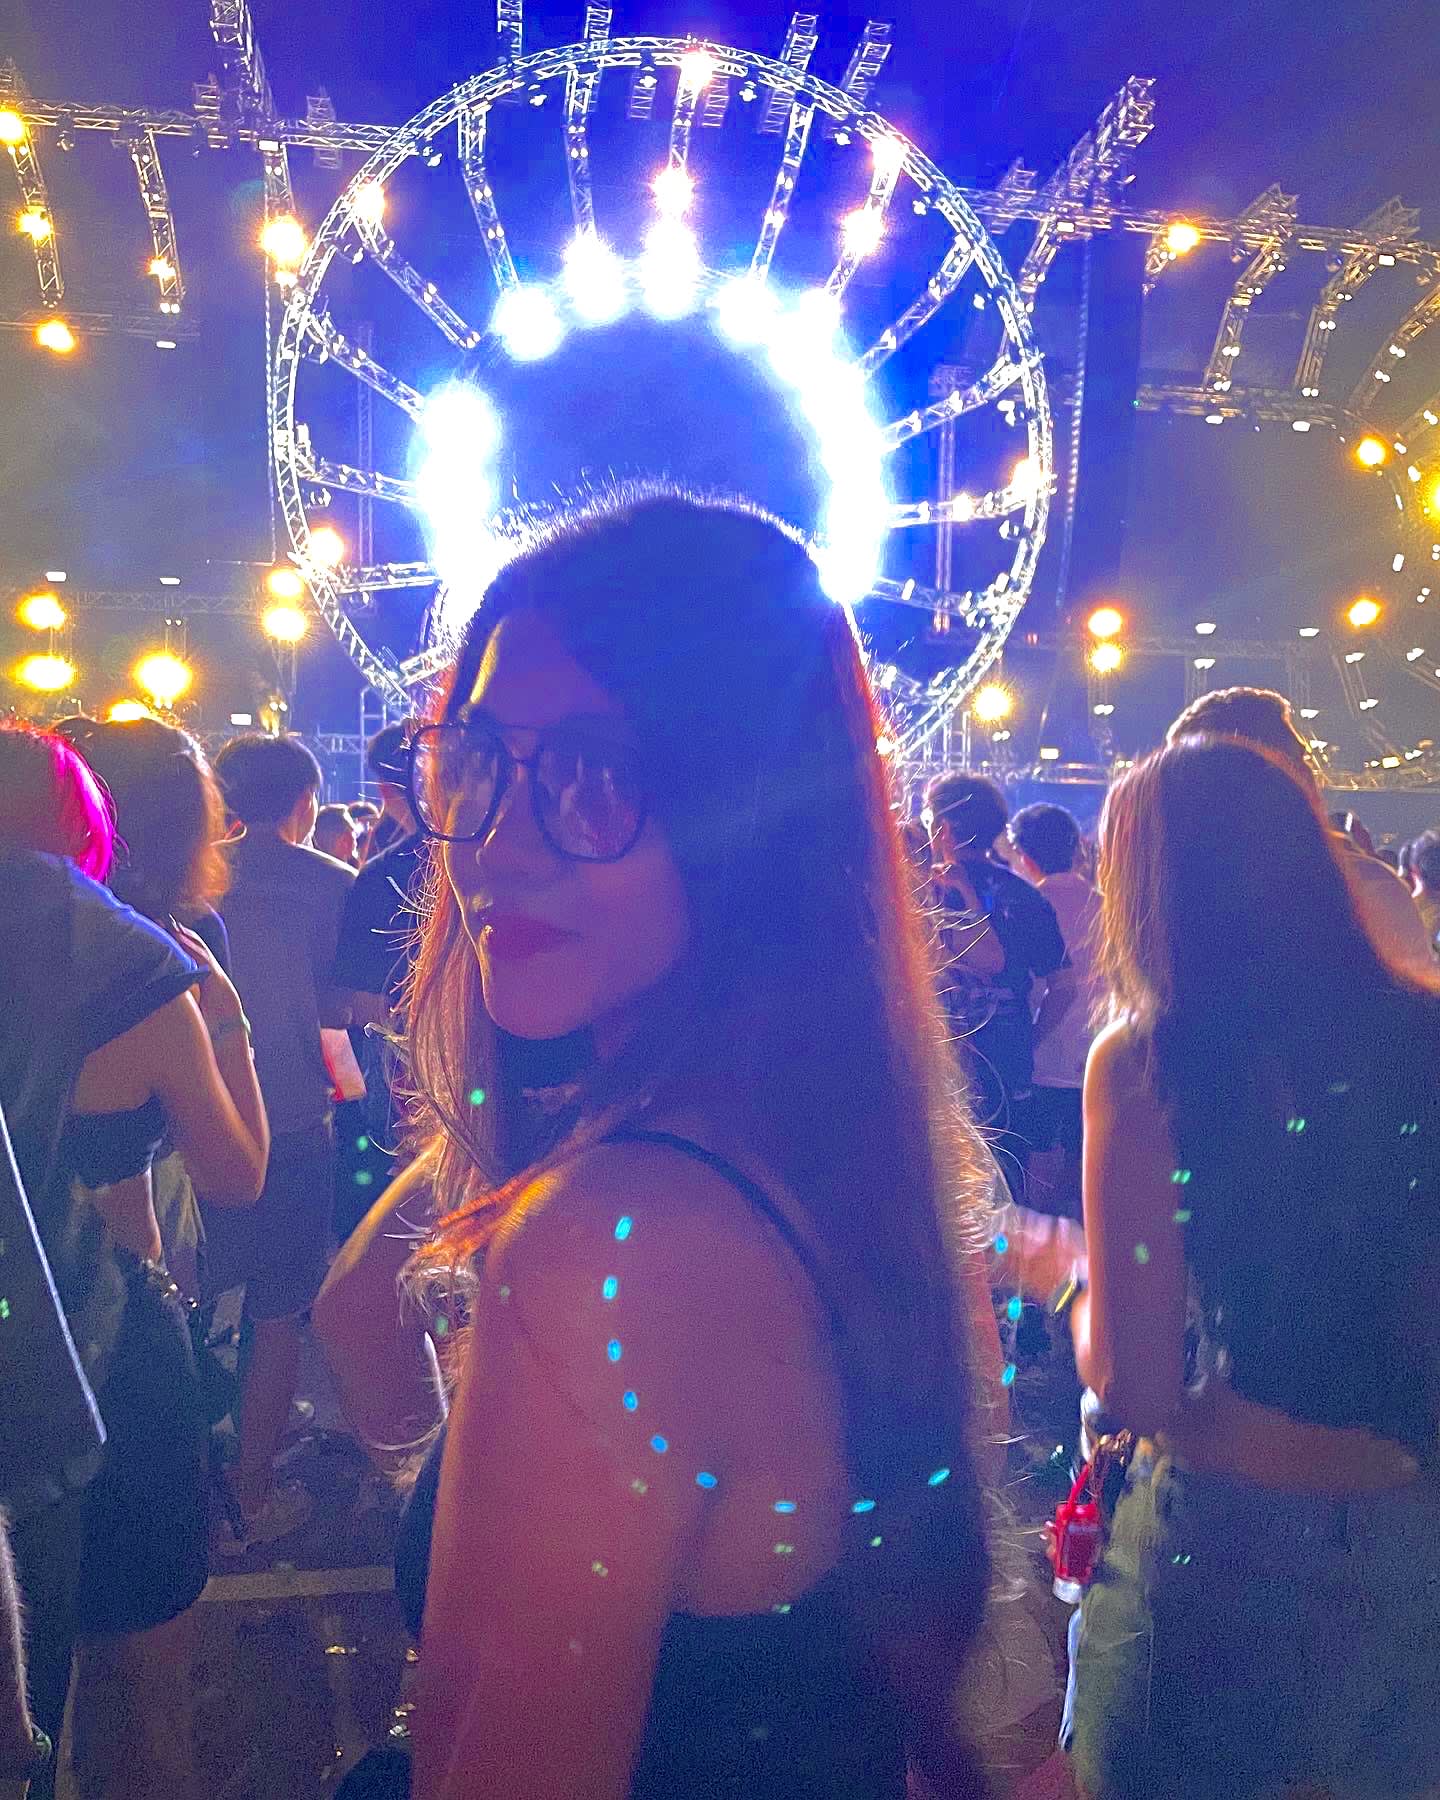
Chinese New Year doesn’t have to be just mahjong and card games — it’s also great for nights out too! If you’ve by chance snapped any photos on your night out, here’s how to make it better.
Before:
Credits: @casey_kays0219 on Instagram
Numbers:
- Exposure +17
- Brilliance +14
- Highlights -95
- Contrast -11
- Brightness -15
- Black Point +5
- Saturation +10
- Vibrance +21
- Warmth -6
- Tint +21
These adjustments make for a more contrasted image that allows the subject to stand out against the bright lights in the background, yet not taking away the brilliance. Where the original image was a little washed out, adding some saturation brings the colours of the night back to life again!
After:
Vintage Polaroid
This is a nice photo, and it doesn’t look like it can be enhanced any further — or can it? Let’s take up that challenge.
Since Chinese New Year is a celebration rooted in tradition, it's only right that we have some "throwback" photos. If you don't, here's how to make an existing one look more vintage.
Before:
Credit: @alby.cv2
Numbers:
- Exposure +26
- Brilliance +38
- Highlights +22
- Shadows +77
- Contrast -43
- Brightness +5
- Black Point -45
- Saturation -23
- Vibrance +45
- Warmth +34
- Tint +31
- Sharpness +16
- Definition +29
- Vignette -51
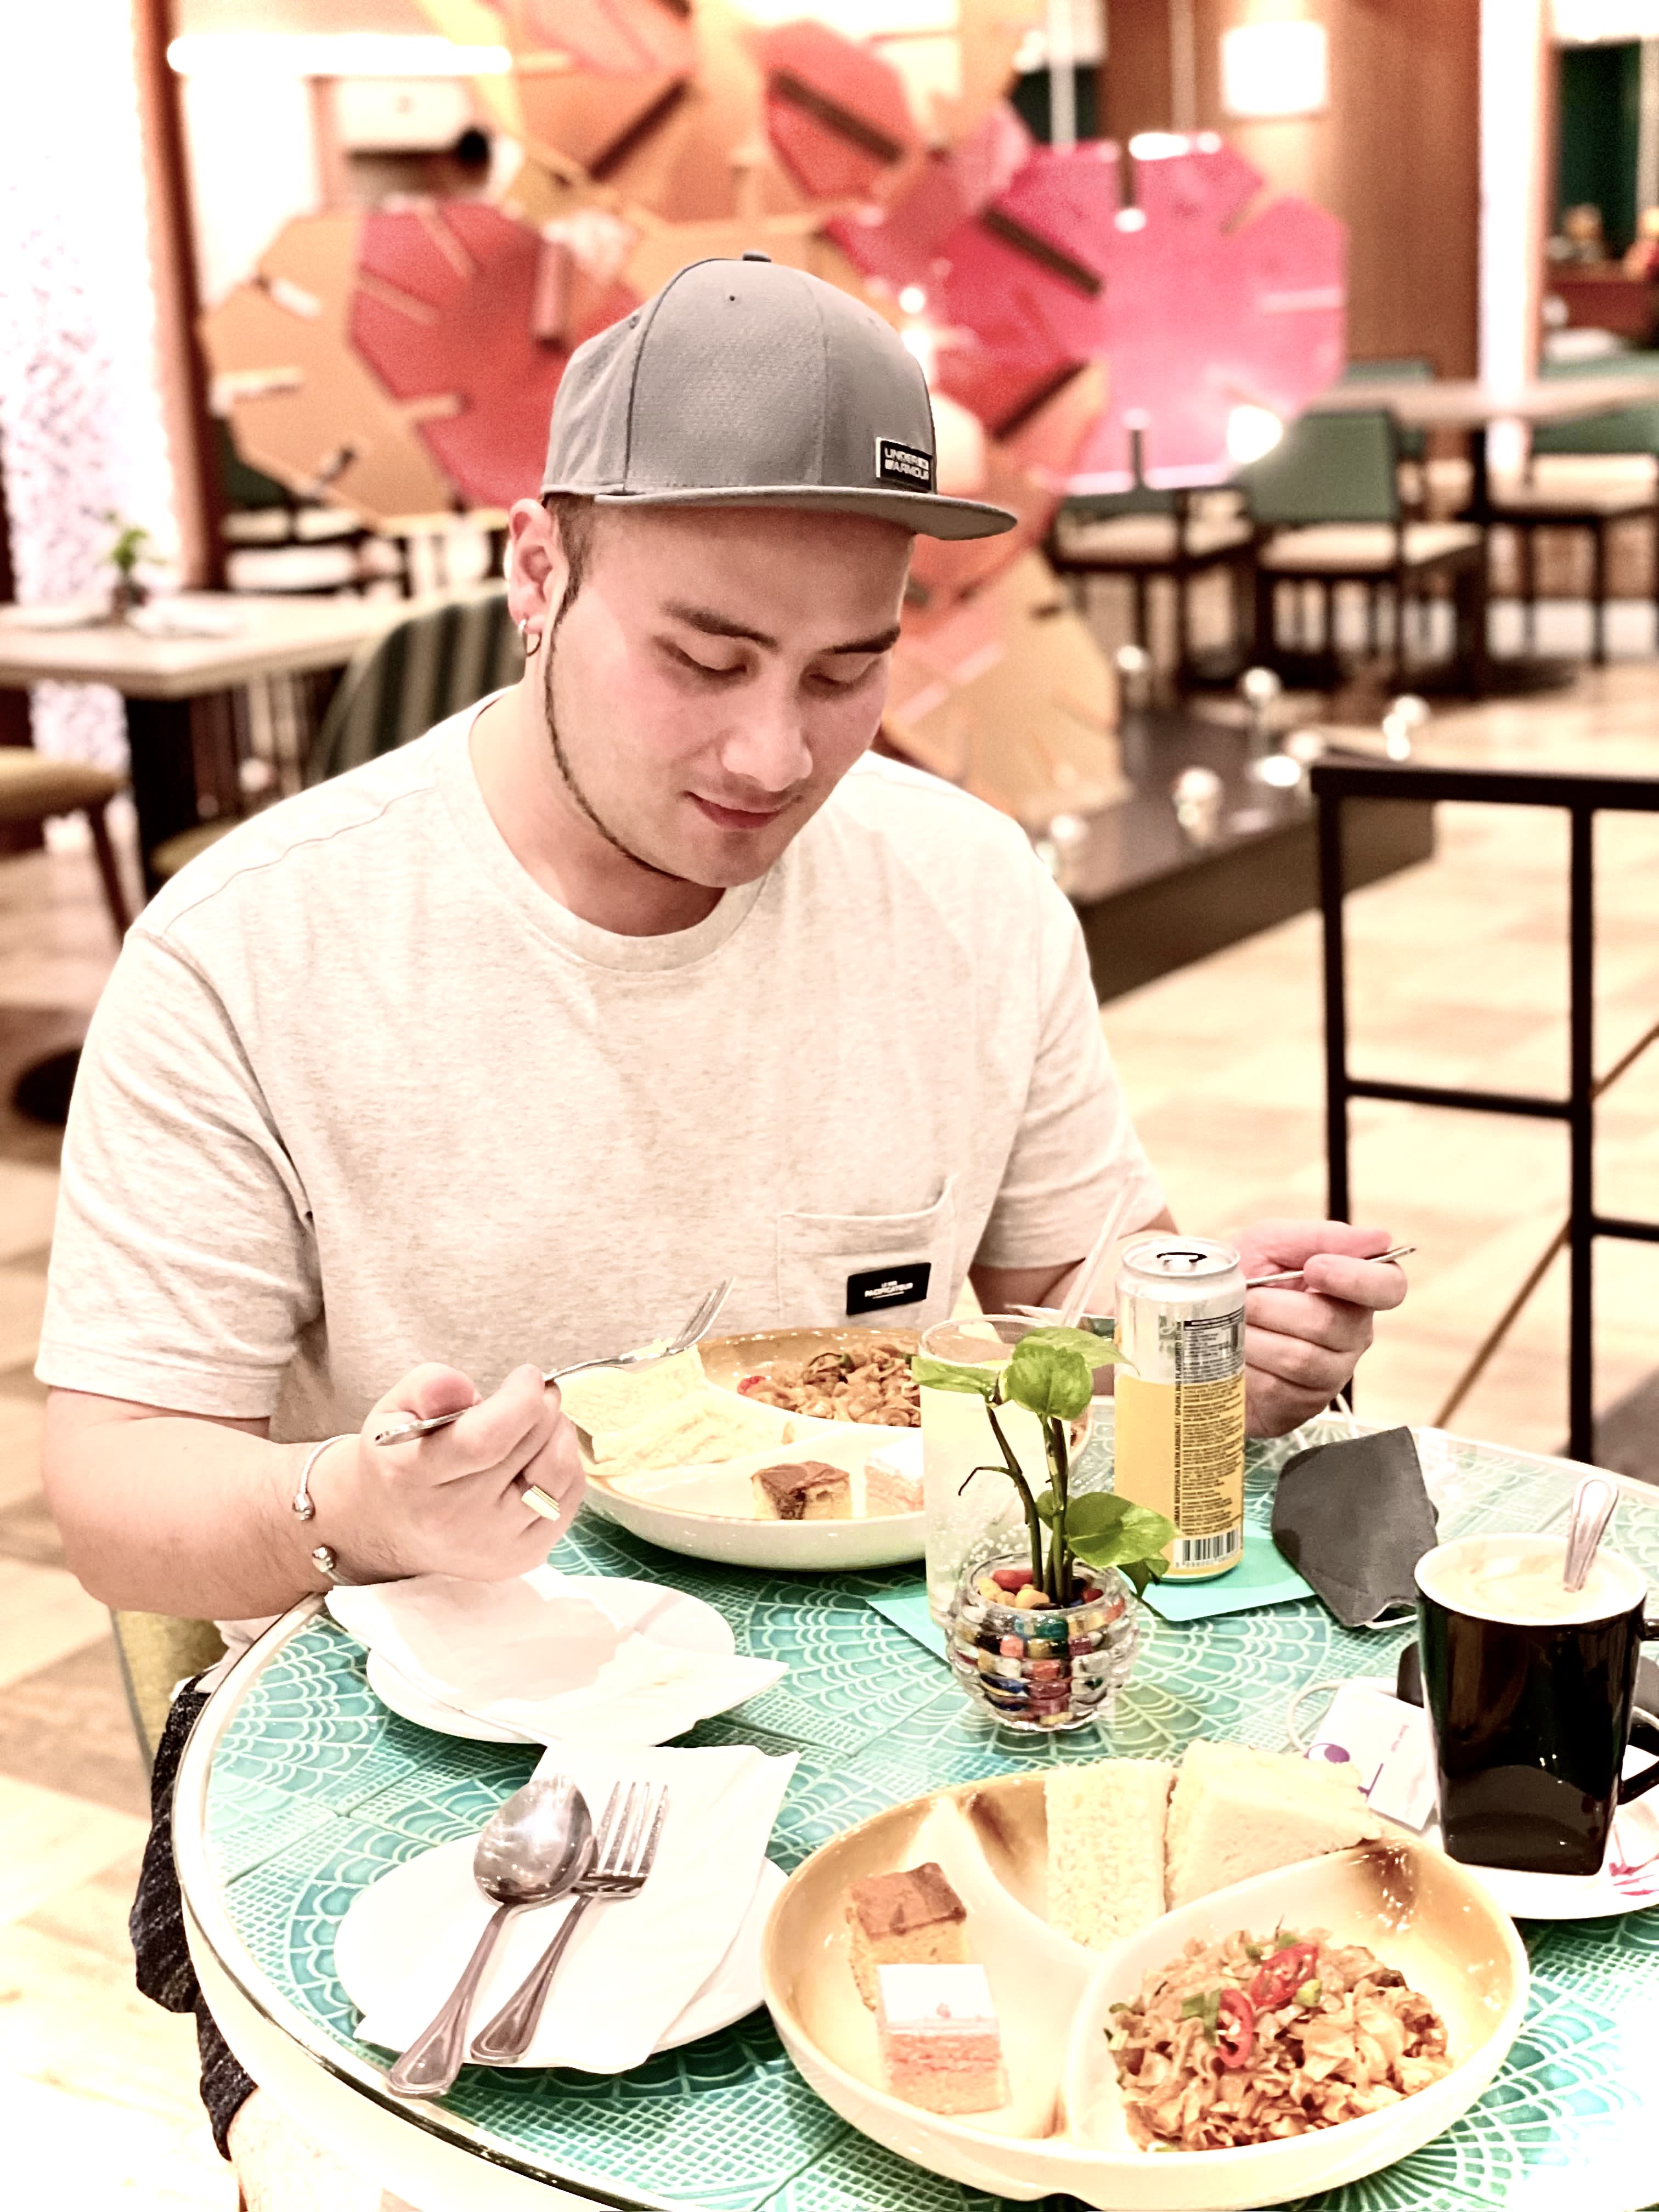
Here, we’re trying to get that vintage polaroid look, because why not? Newtro (new retro) is all the rage now. To achieve the vintage effect of a polaroid photo, we lowered the saturation, added more exposure and brightness, and tinted the photo with warmer colours.
The final touch of decreasing the vignette brings the polaroid look altogether by blurring out the edges slightly through over-exposure, and voila, you have your classic polaroid photo, taken on a modern smartphone.
After:
Blue Hour
There’s a very special time that happens only twice in a day, and that’s the Blue Hour: at the crack of dawn or the cusp of sundown. It’s the perfect time to capture that magical photo with a mysterious bluish hue, or even some reds, pinks and purples, remnants of a dying sun (or rising dawn, depending on when you’re shooting).
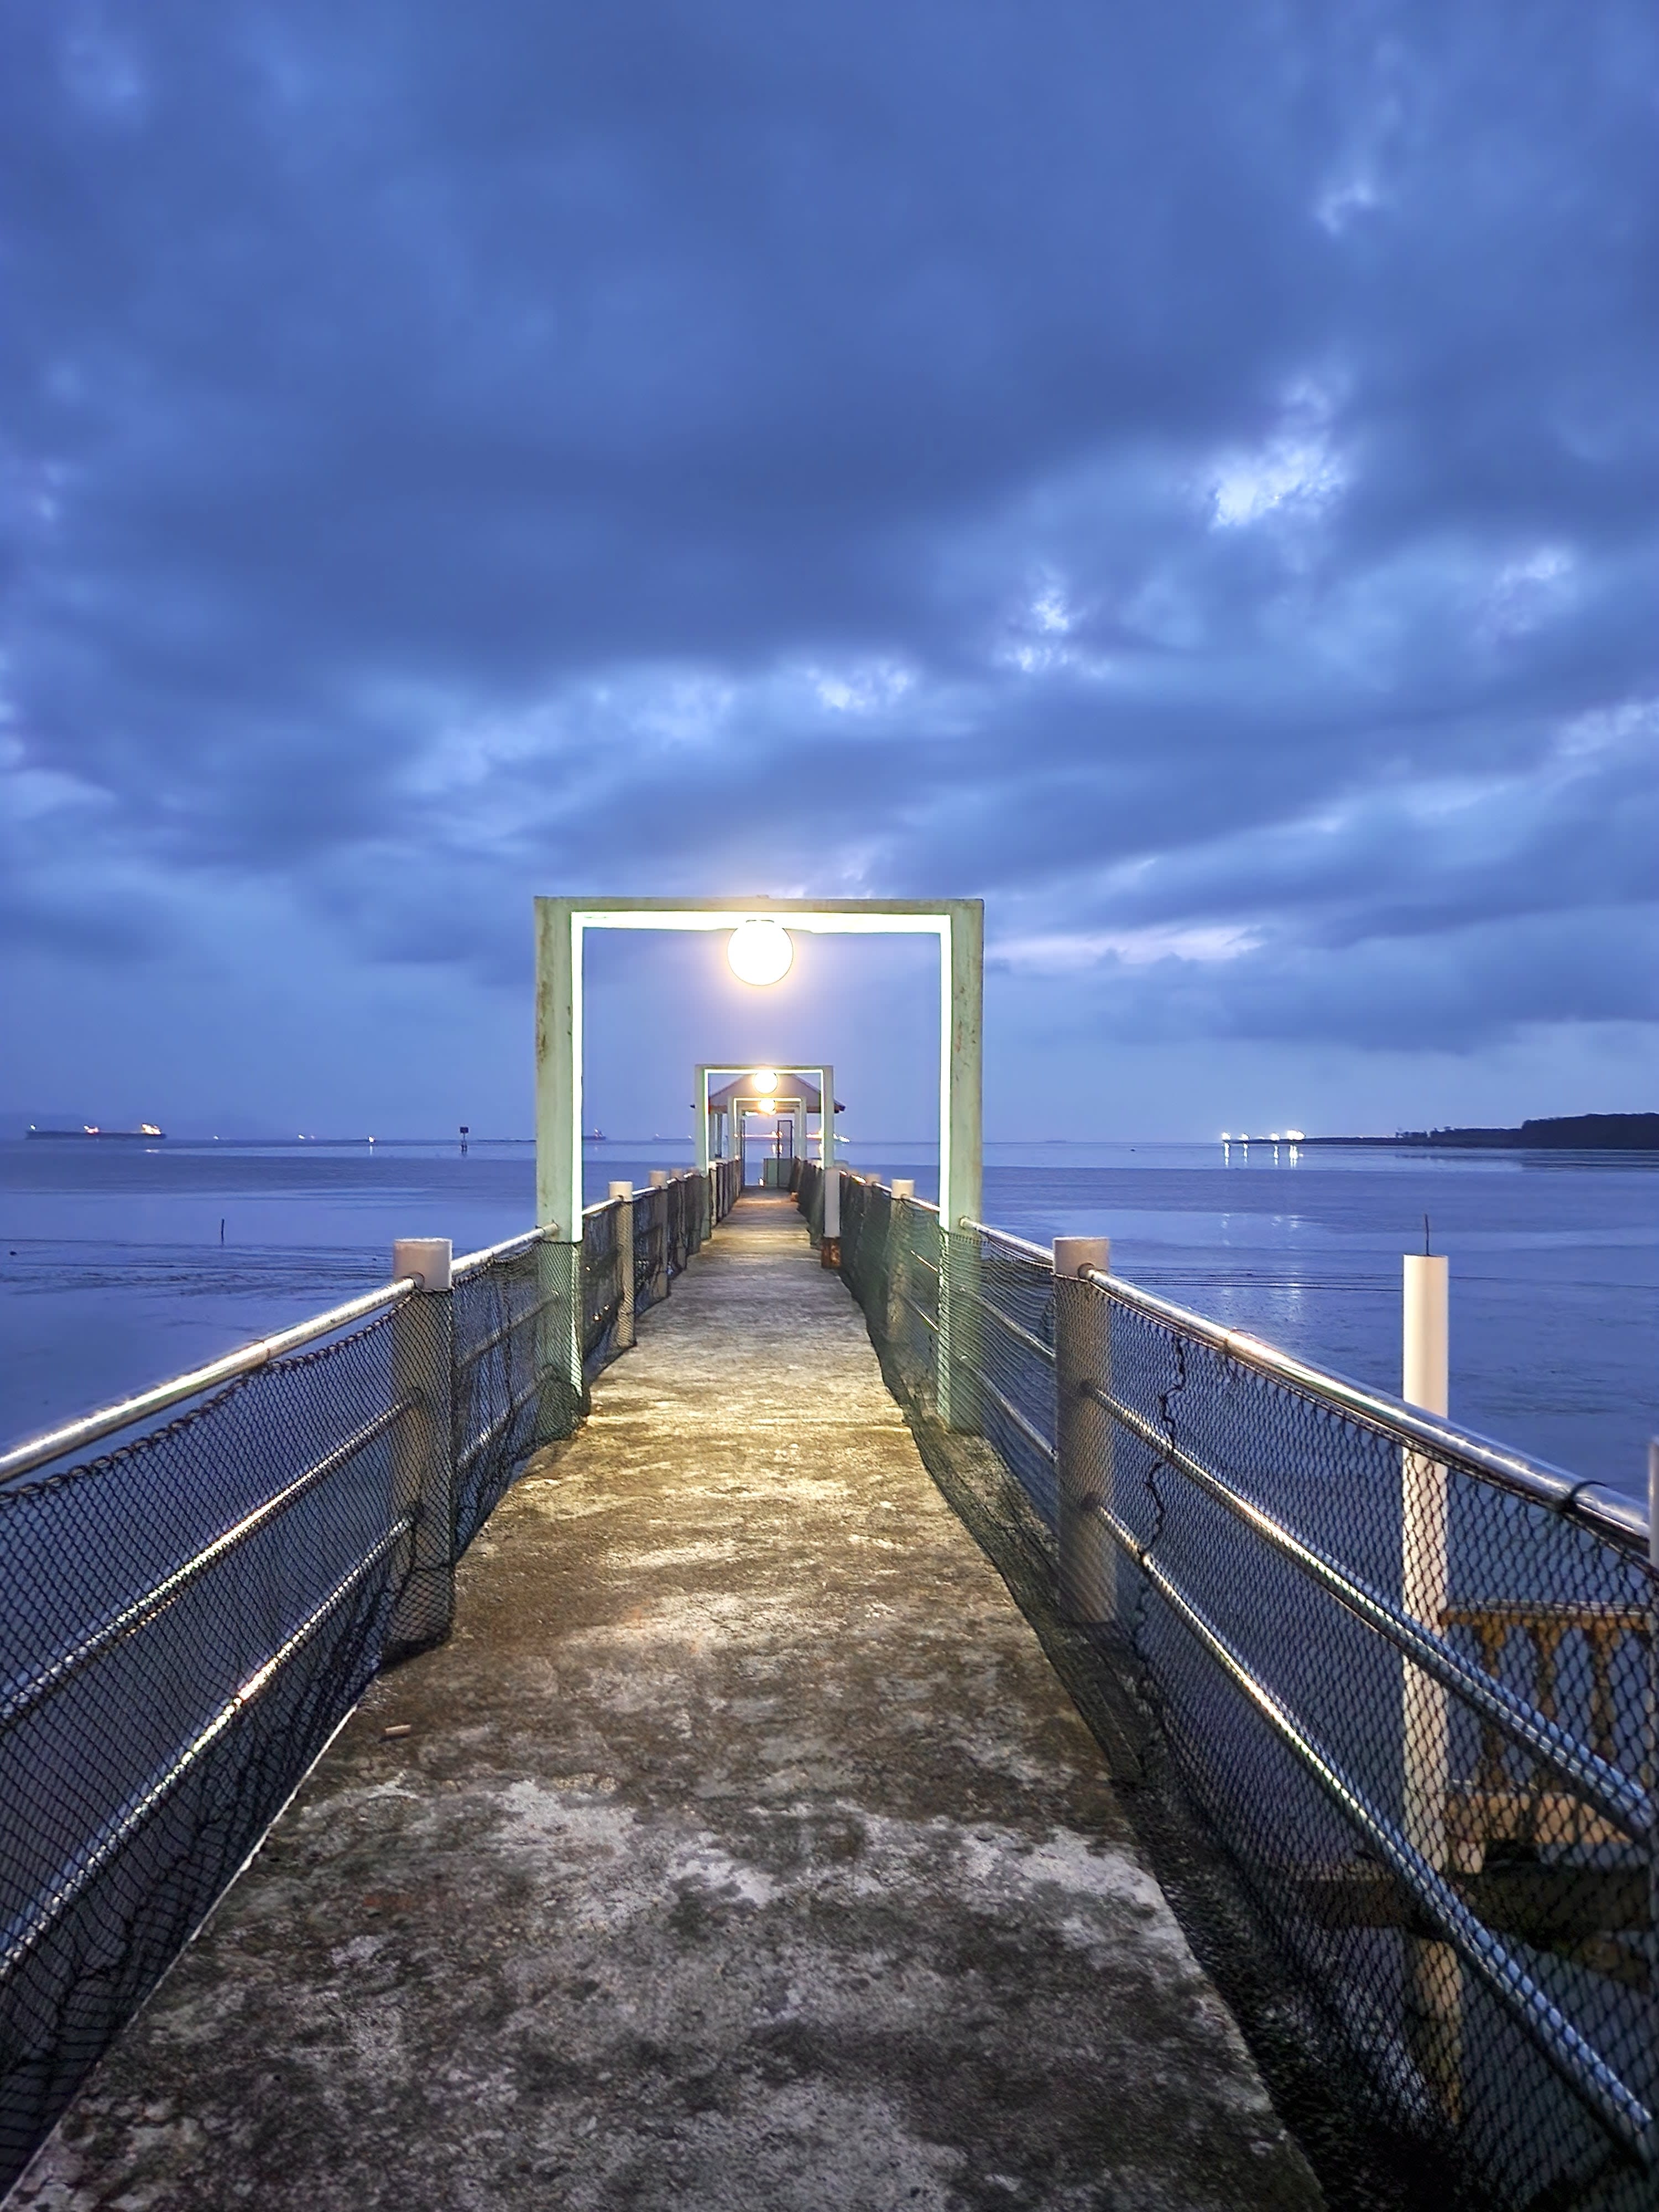
Blue Hour photography can be perfect on its own, but what if you couldn’t make it just in time for that short window of time? Well, in the words of many, many wise people, you can fix it in post.
Before:
Credits: Jennifer
Numbers:
- Exposure -20
- Highlight -14
- Shadows -10
- Contrast -12
- Brightness -24
- Black Point +19
- Saturation +20
- Vibrance +25
- Warmth +20
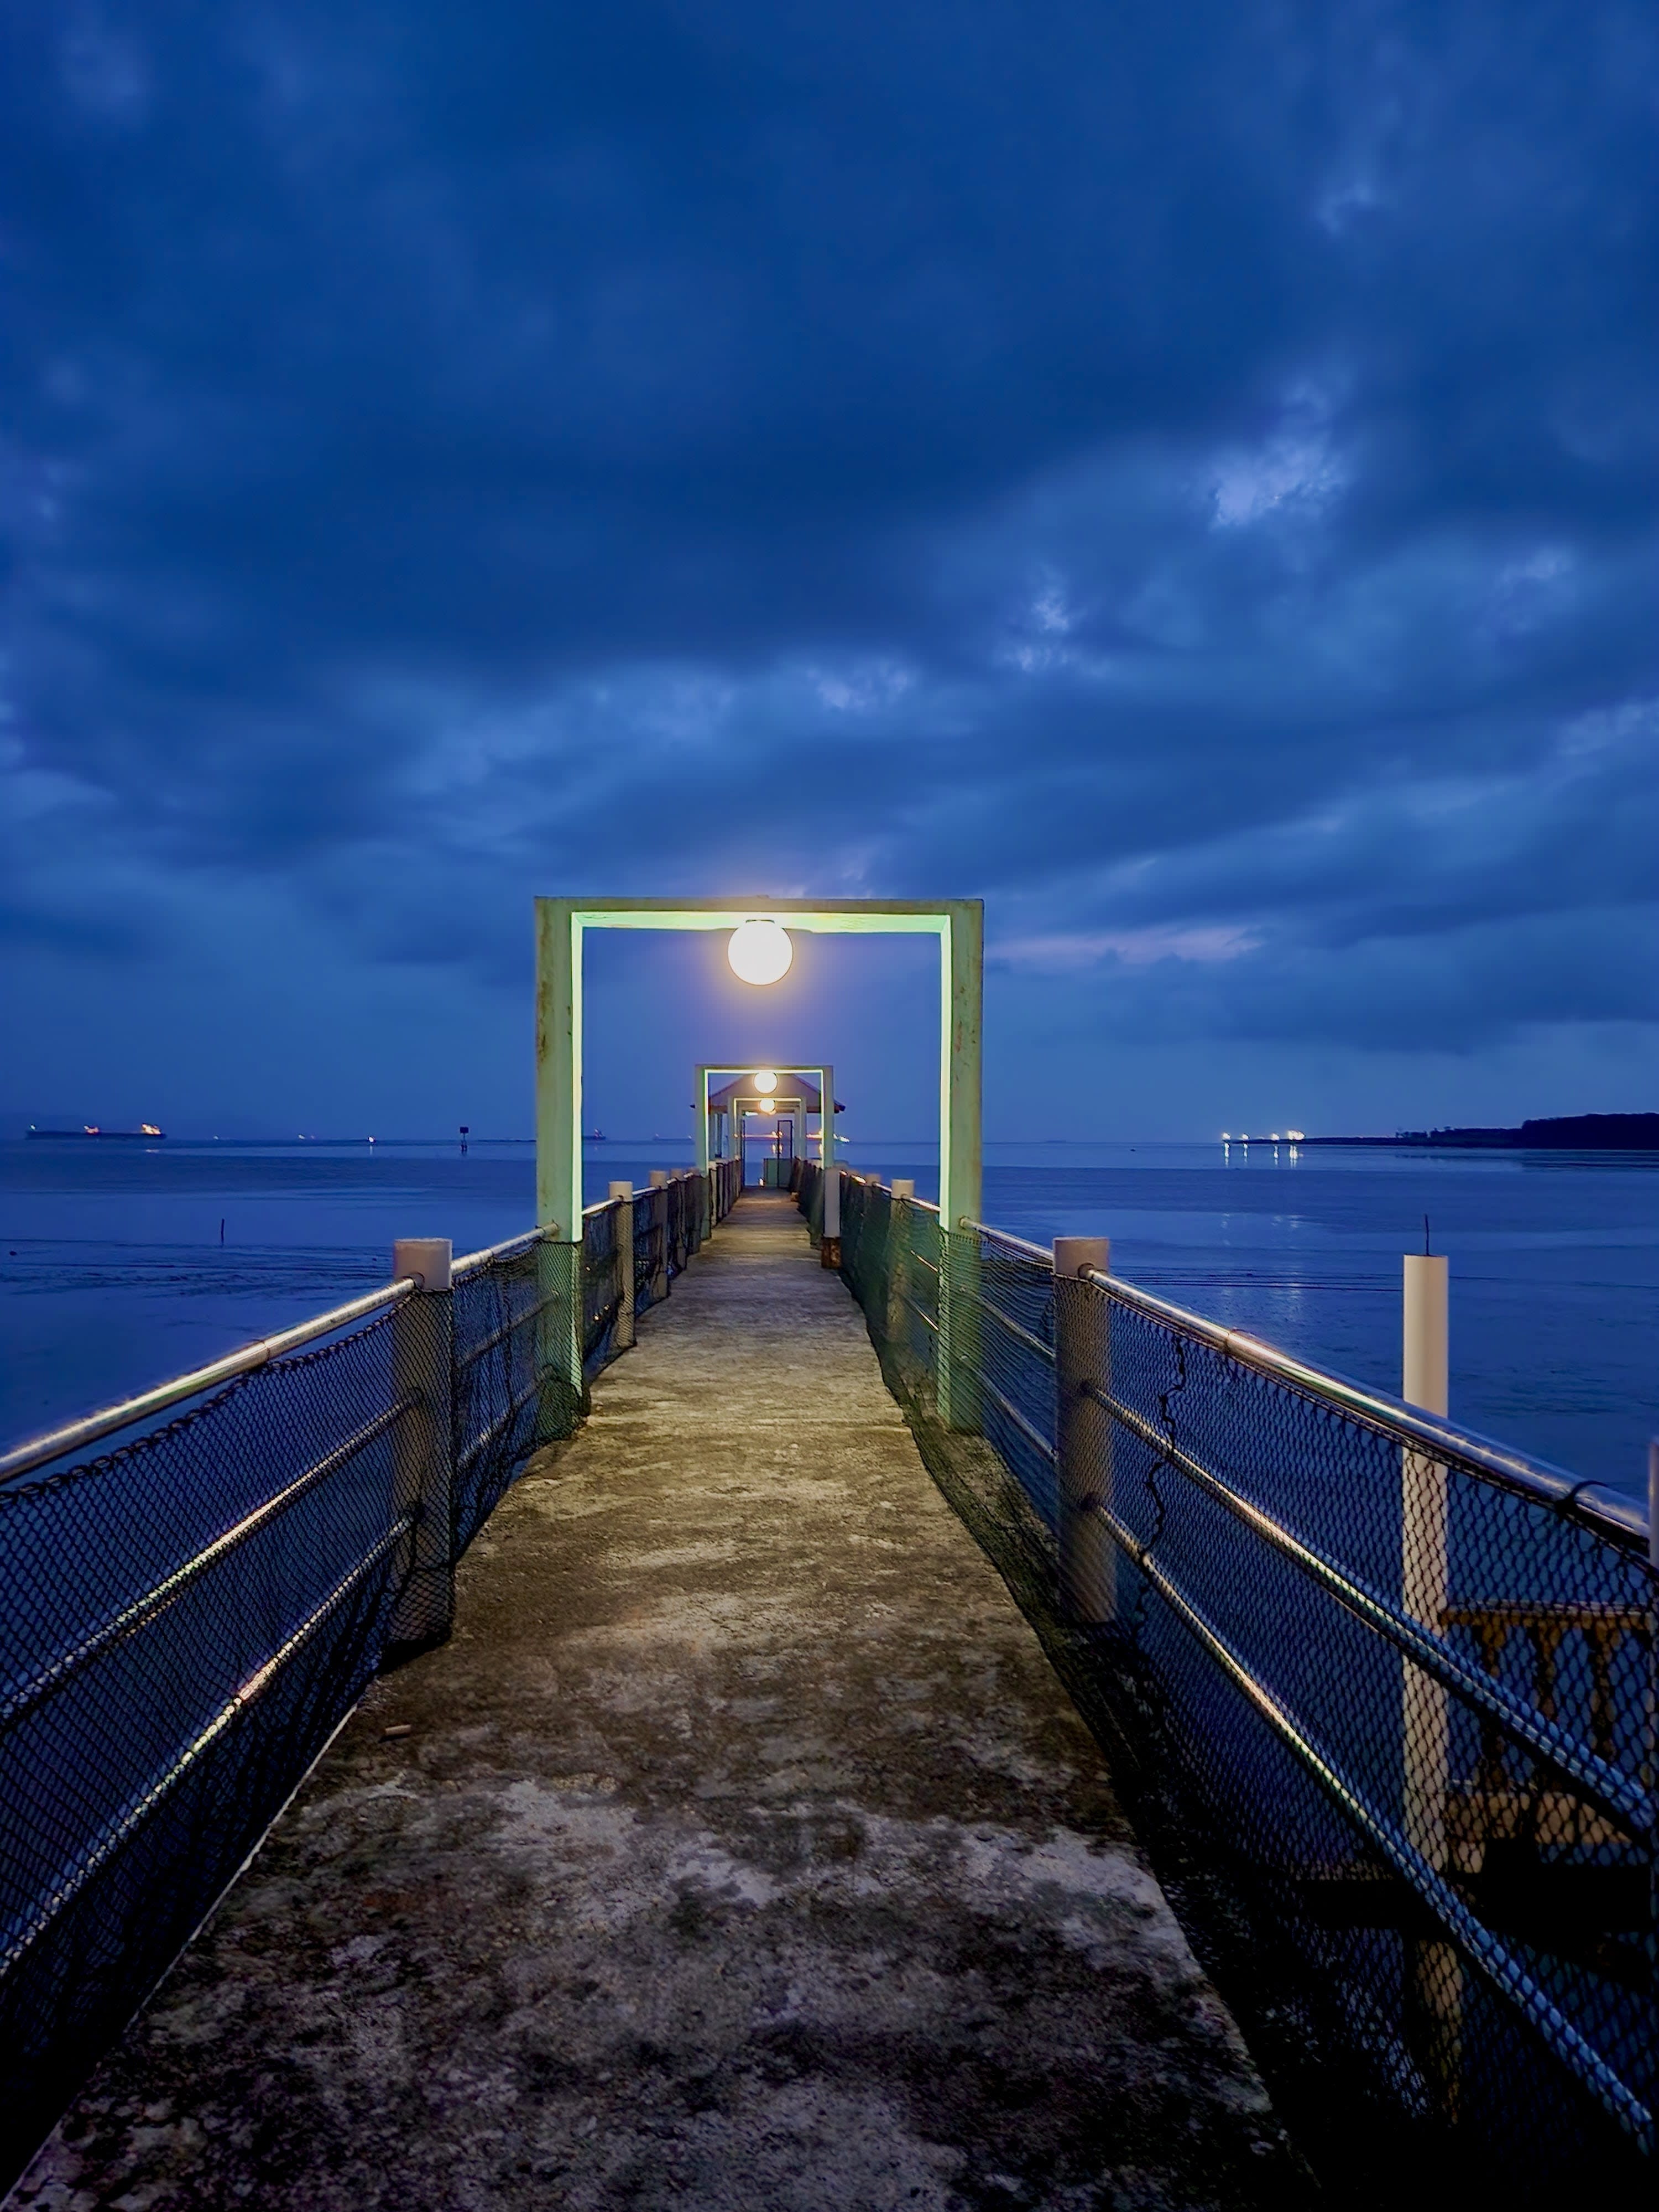
Actually, the original photo was taken pretty close to the Blue Hour, but these edits just gave it a little more oomph to the magical blues. All we really did was bring up the contrast and lessen the exposure so that the photo looks a little darker and more mysterious.
When you balik kampung this Chinese New Year, try capturing some nature and scenery. You never know what magic you’d find!
After:
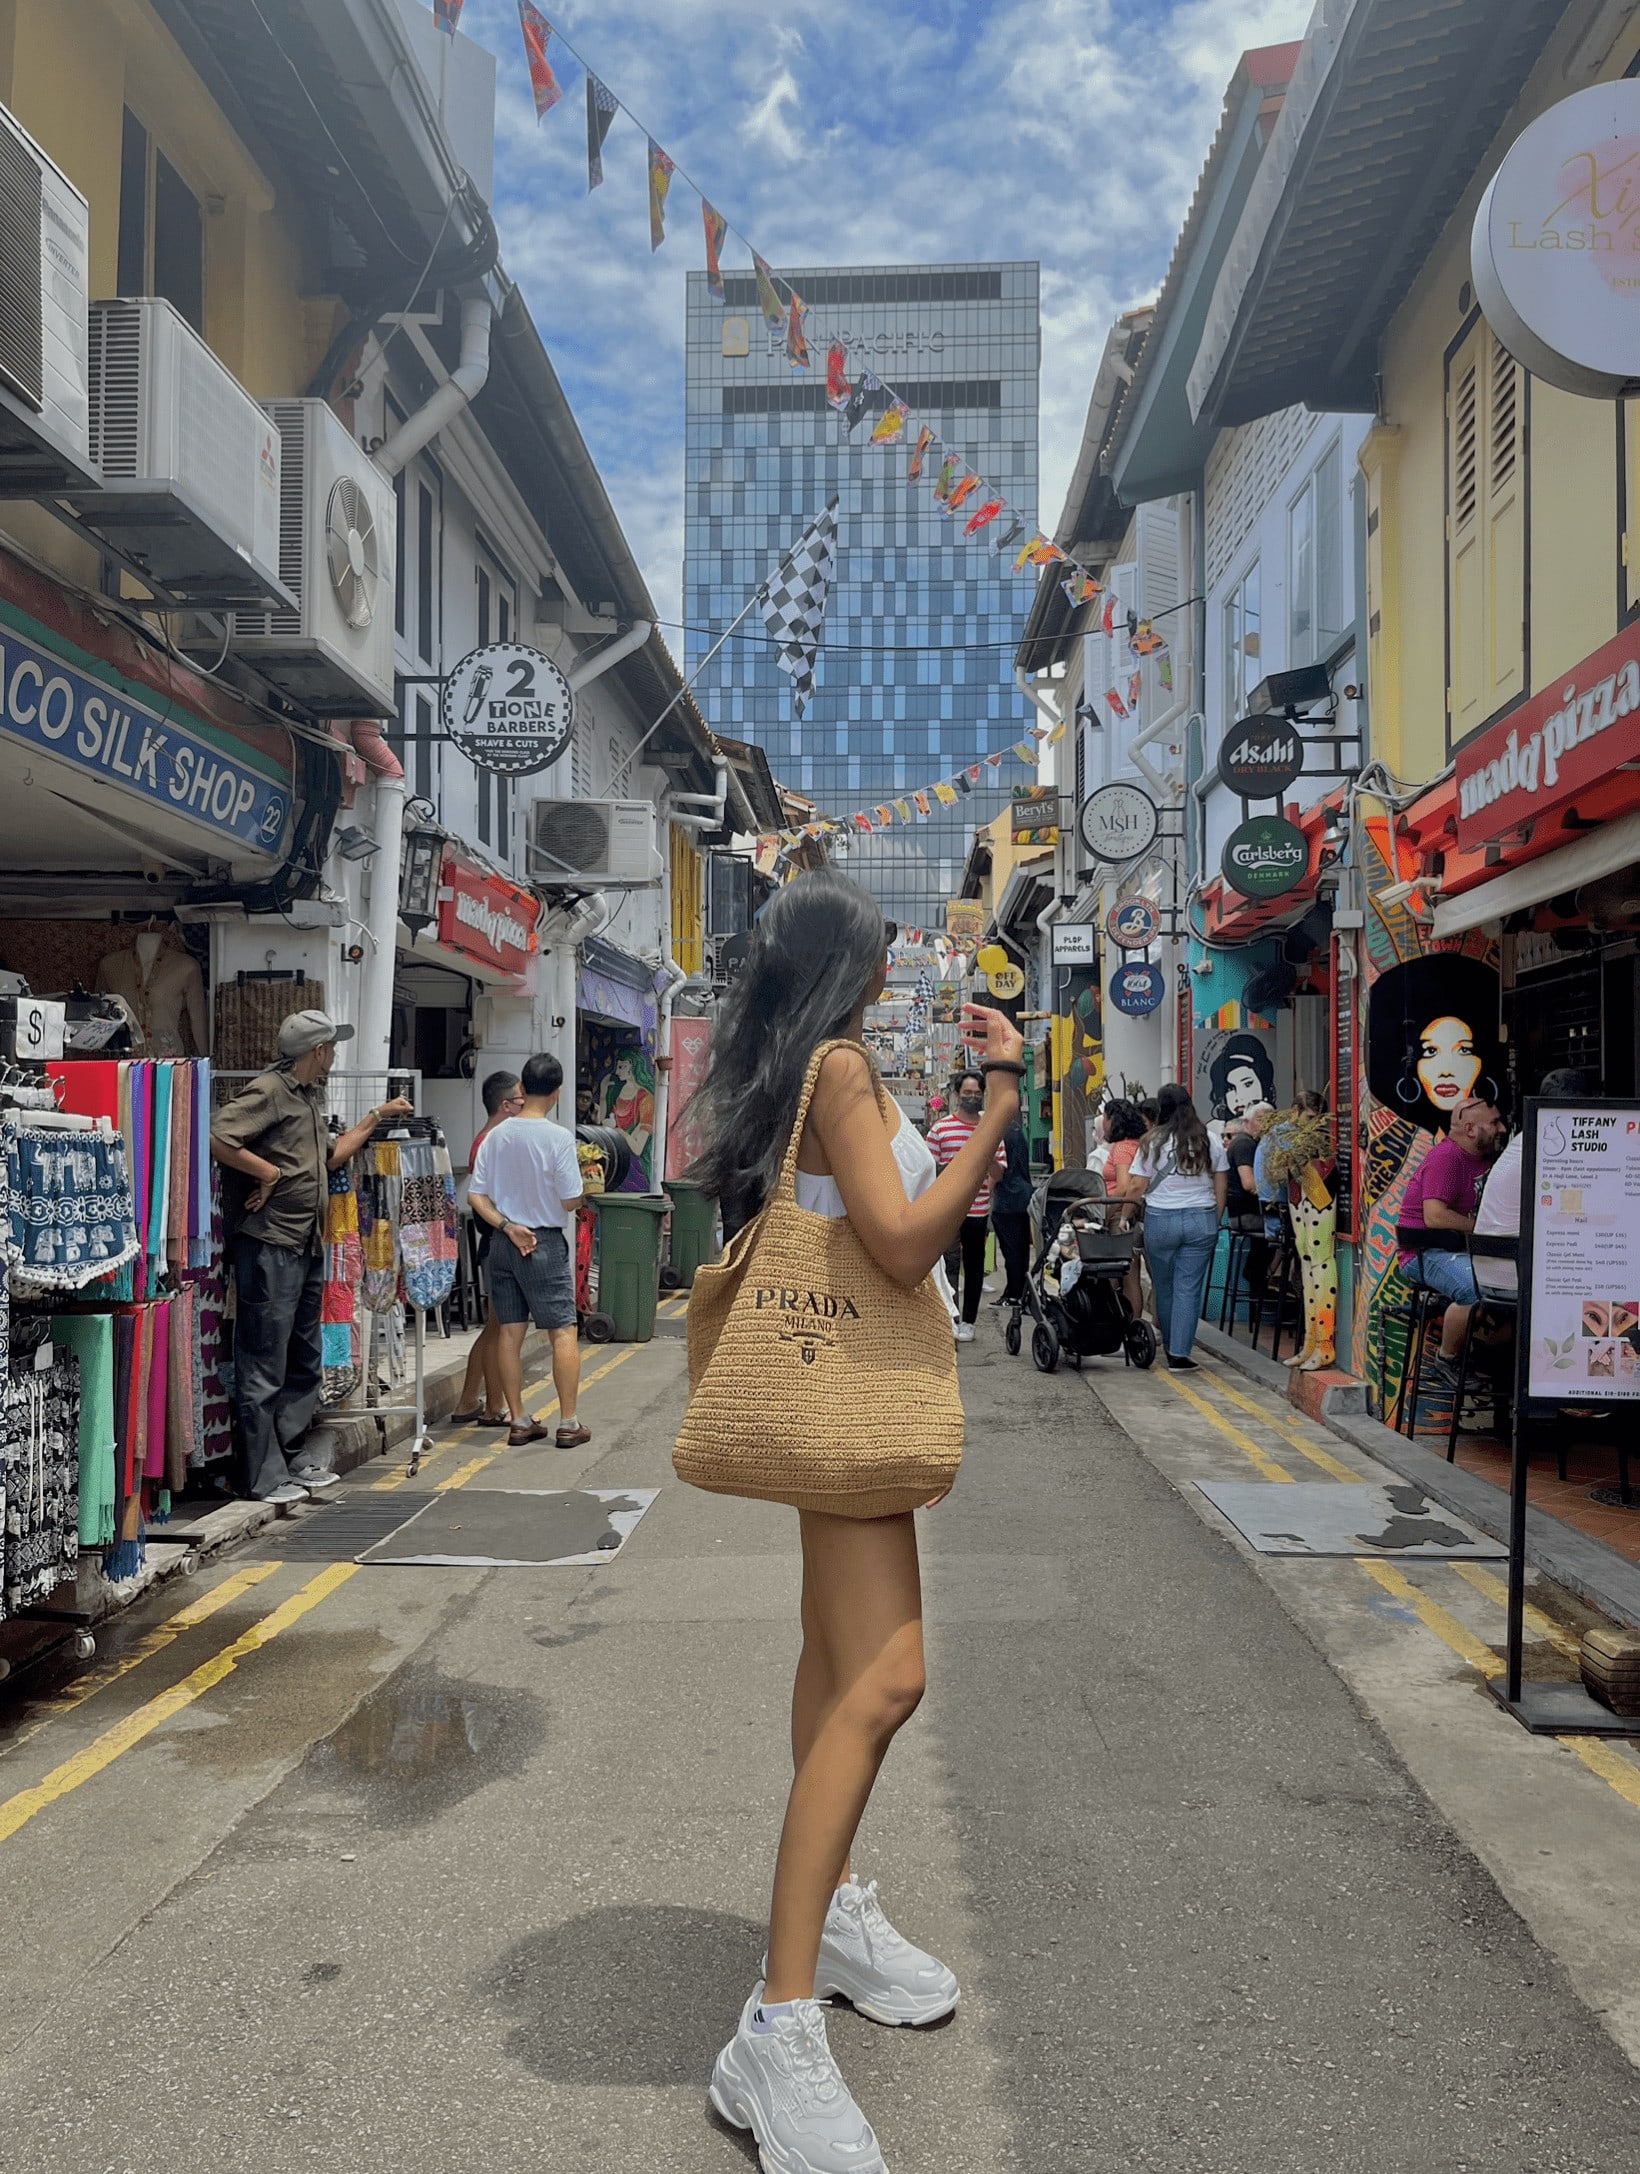
Cute Aesthetic Street Pics
Traditionally, people don new clothes for Chinese New Year. In this era of easy photography and widespread social media usage, it’s not really Chinese New Year until you’ve flaunted your OOTD for every day of the celebration.
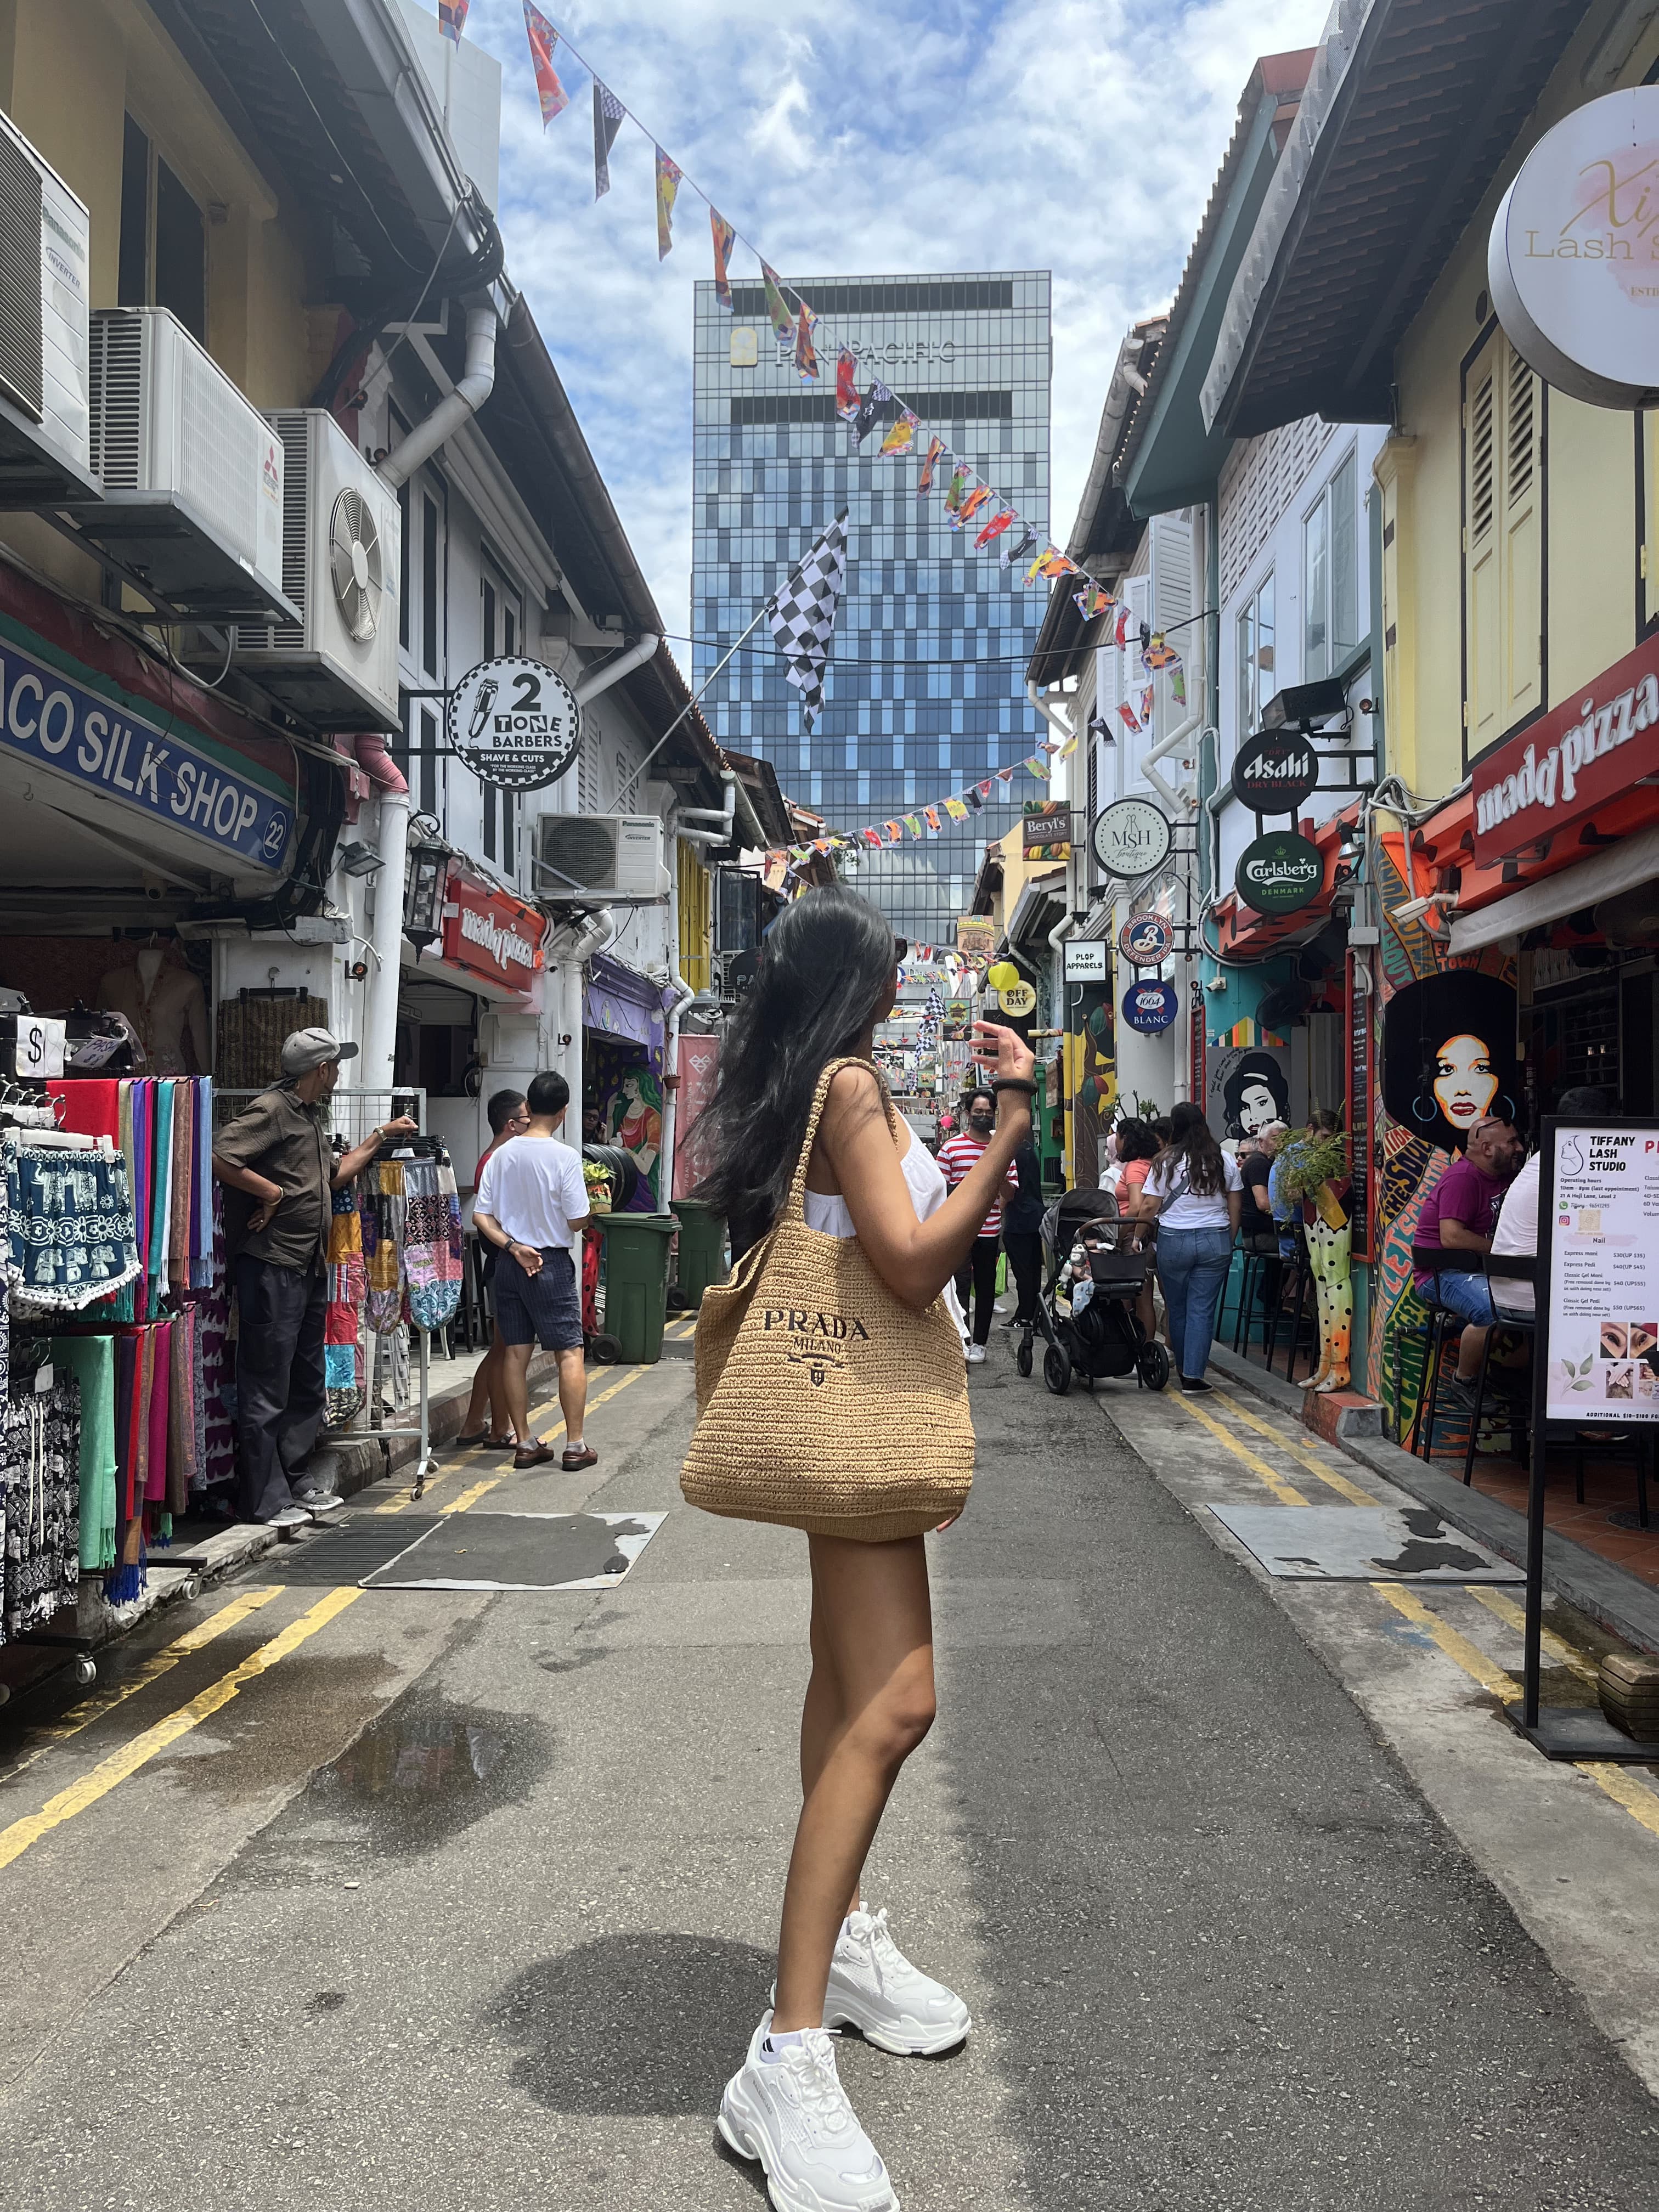
From Chor 1 to Chap Goh Mei, here’s to how to make your OOTDs and street photos more *aesthetic*.
Before:
Credits: @viebyproductnation on Instagram
Numbers:
- Exposure -14
- Brilliance +40
- Highlight -35
- Shadows +22
- Contrast -35
- Brightness -6
- Black Point +12
- Saturation +5
- Vibrance -5
- Warmth +5
- Sharpness +3
After:
The YumYum Edit
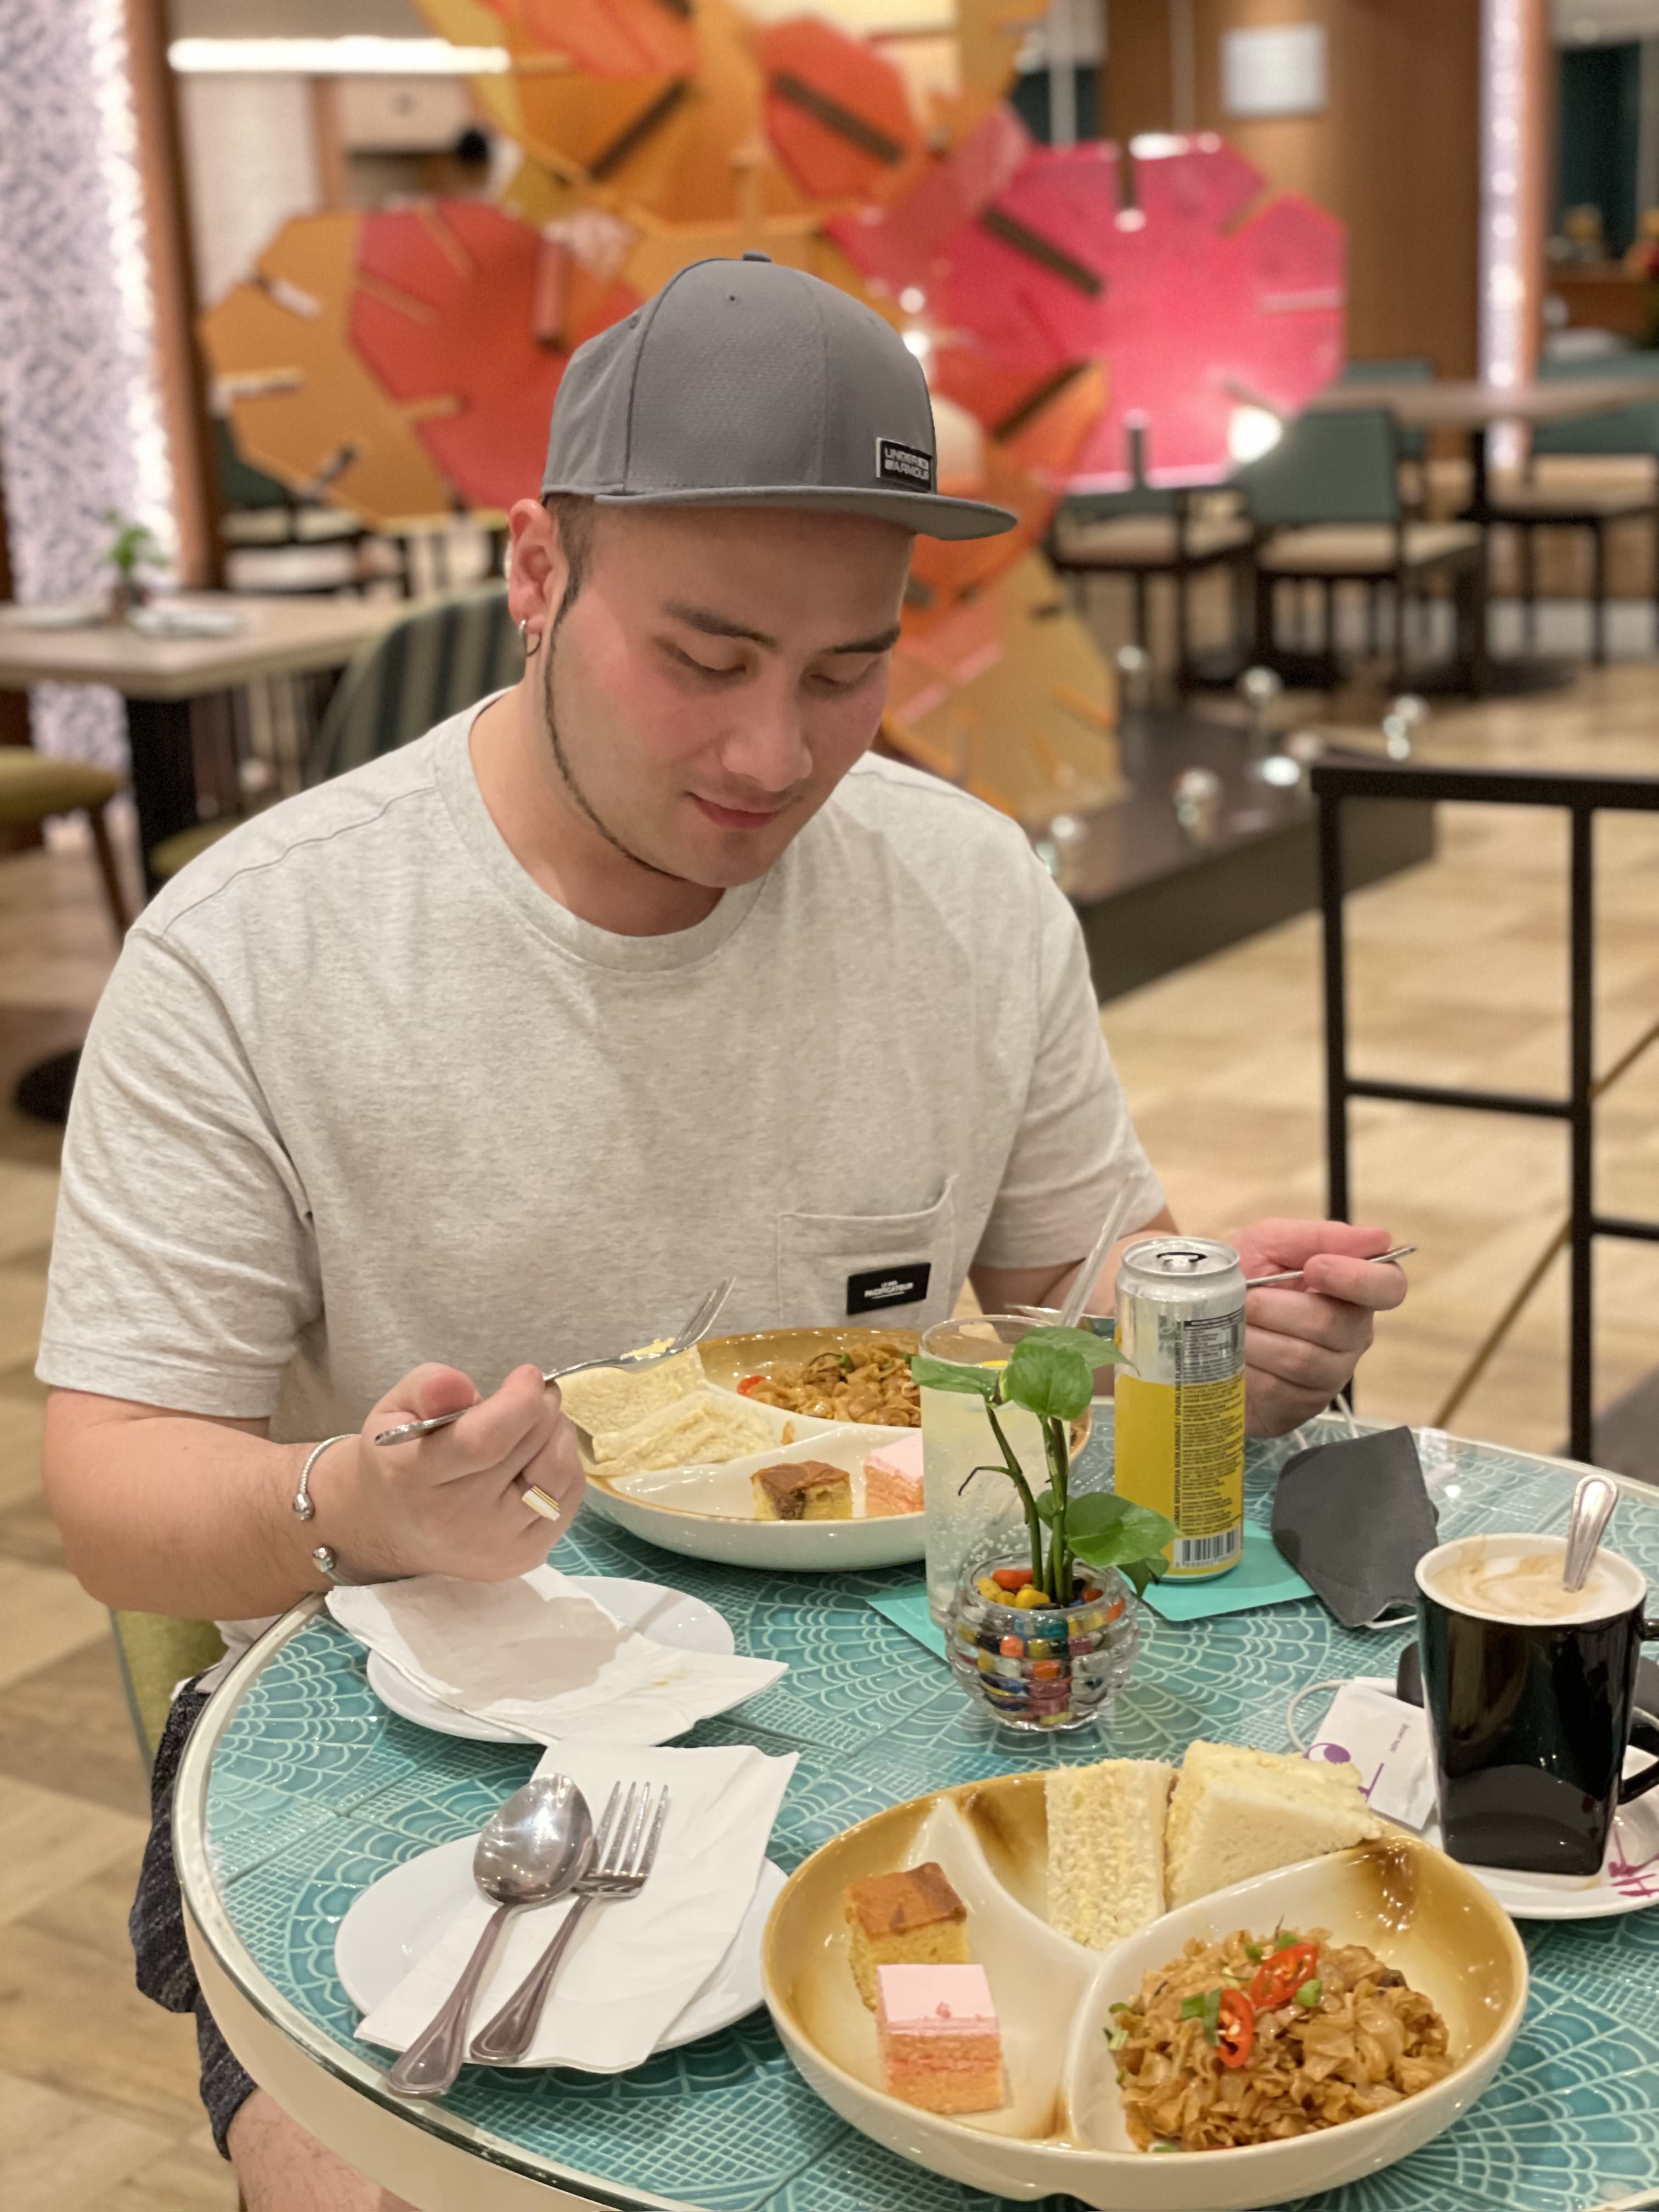
And now, for the most important part of any holiday ever: FOOD. Of course you’re going to want to take photos of your reunion dinner, friend-union lunch, or just about anything that looks delish. Here’s how to make every colour in your Yeesang pop!
Before:

Numbers:
- Exposure +12
- Brilliance
- Highlights +5
- Saturation +10
- Shadows +45
- Contrast +40
- Black Point -10
- Saturation +12
- Tint +13
- Vibrance +31
After:

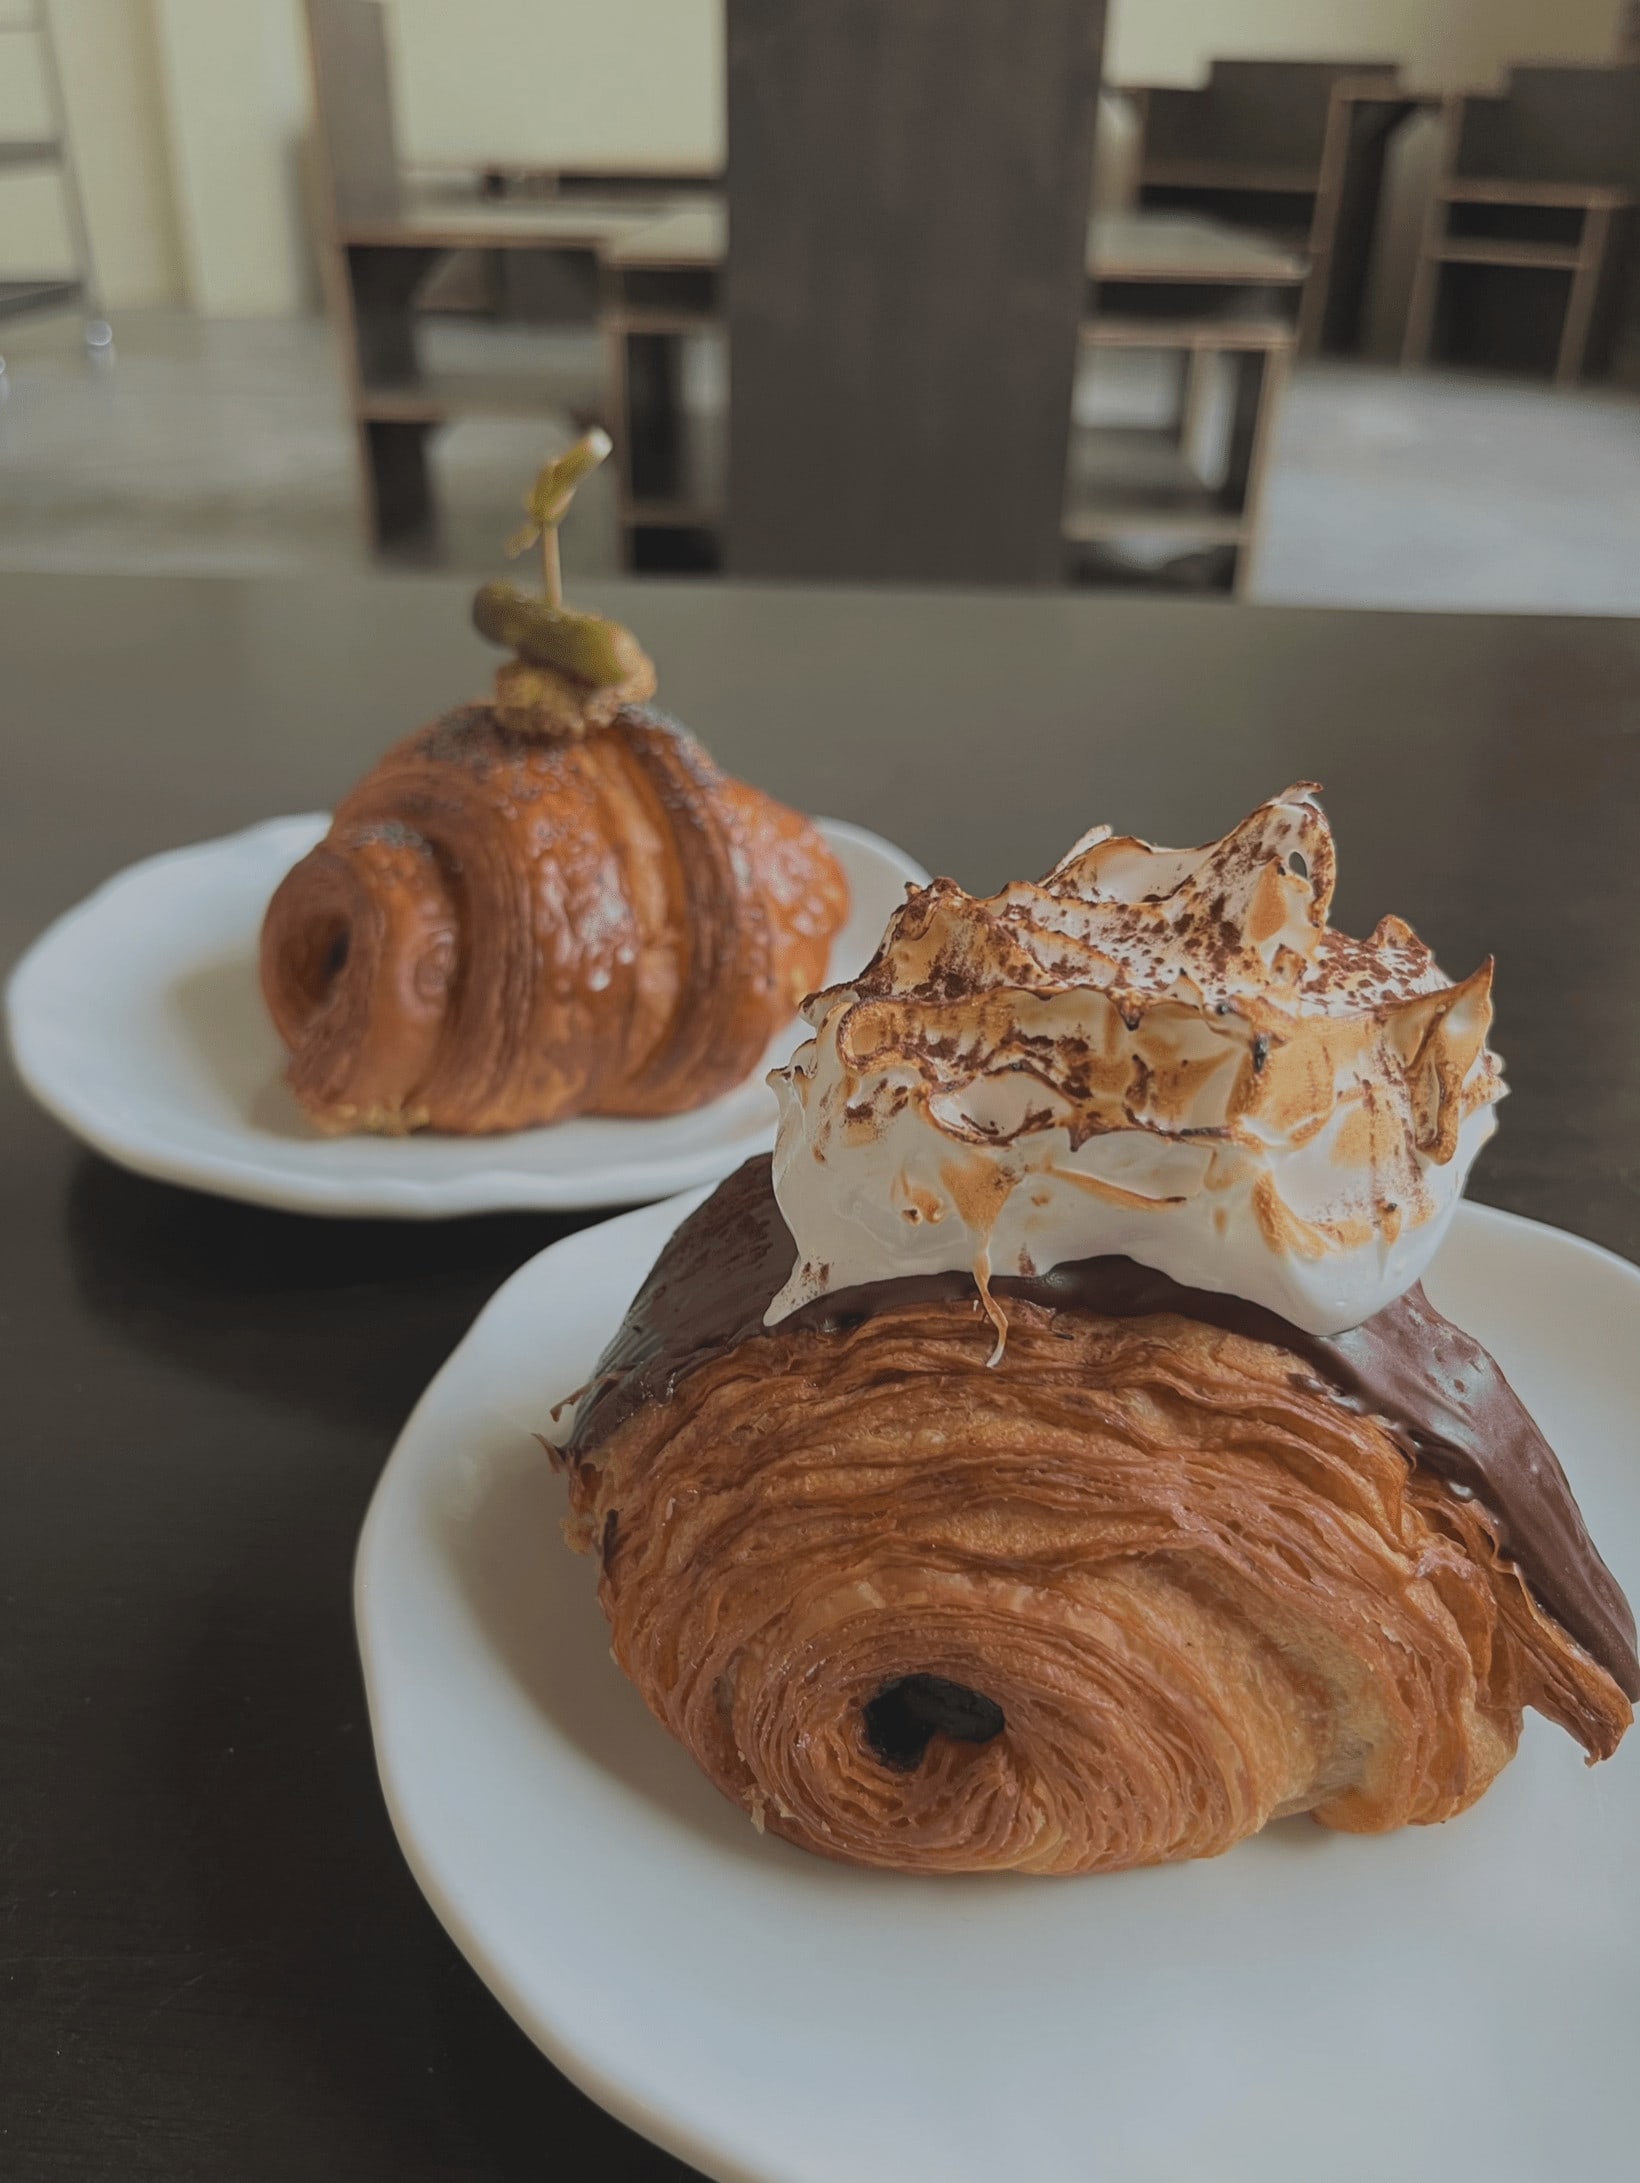
Bonus: Yet Another YumYum Filter For The Cafe Hoppers
I know Chinese New Year doesn’t feature a lot of pastries (or maybe your household traditions do, we’re not judging), so this is less for the occasion, but more for the every day. If you’re at a cafe with pretty pastries and cakes, this is how you can capture them in all their glory.
Before:
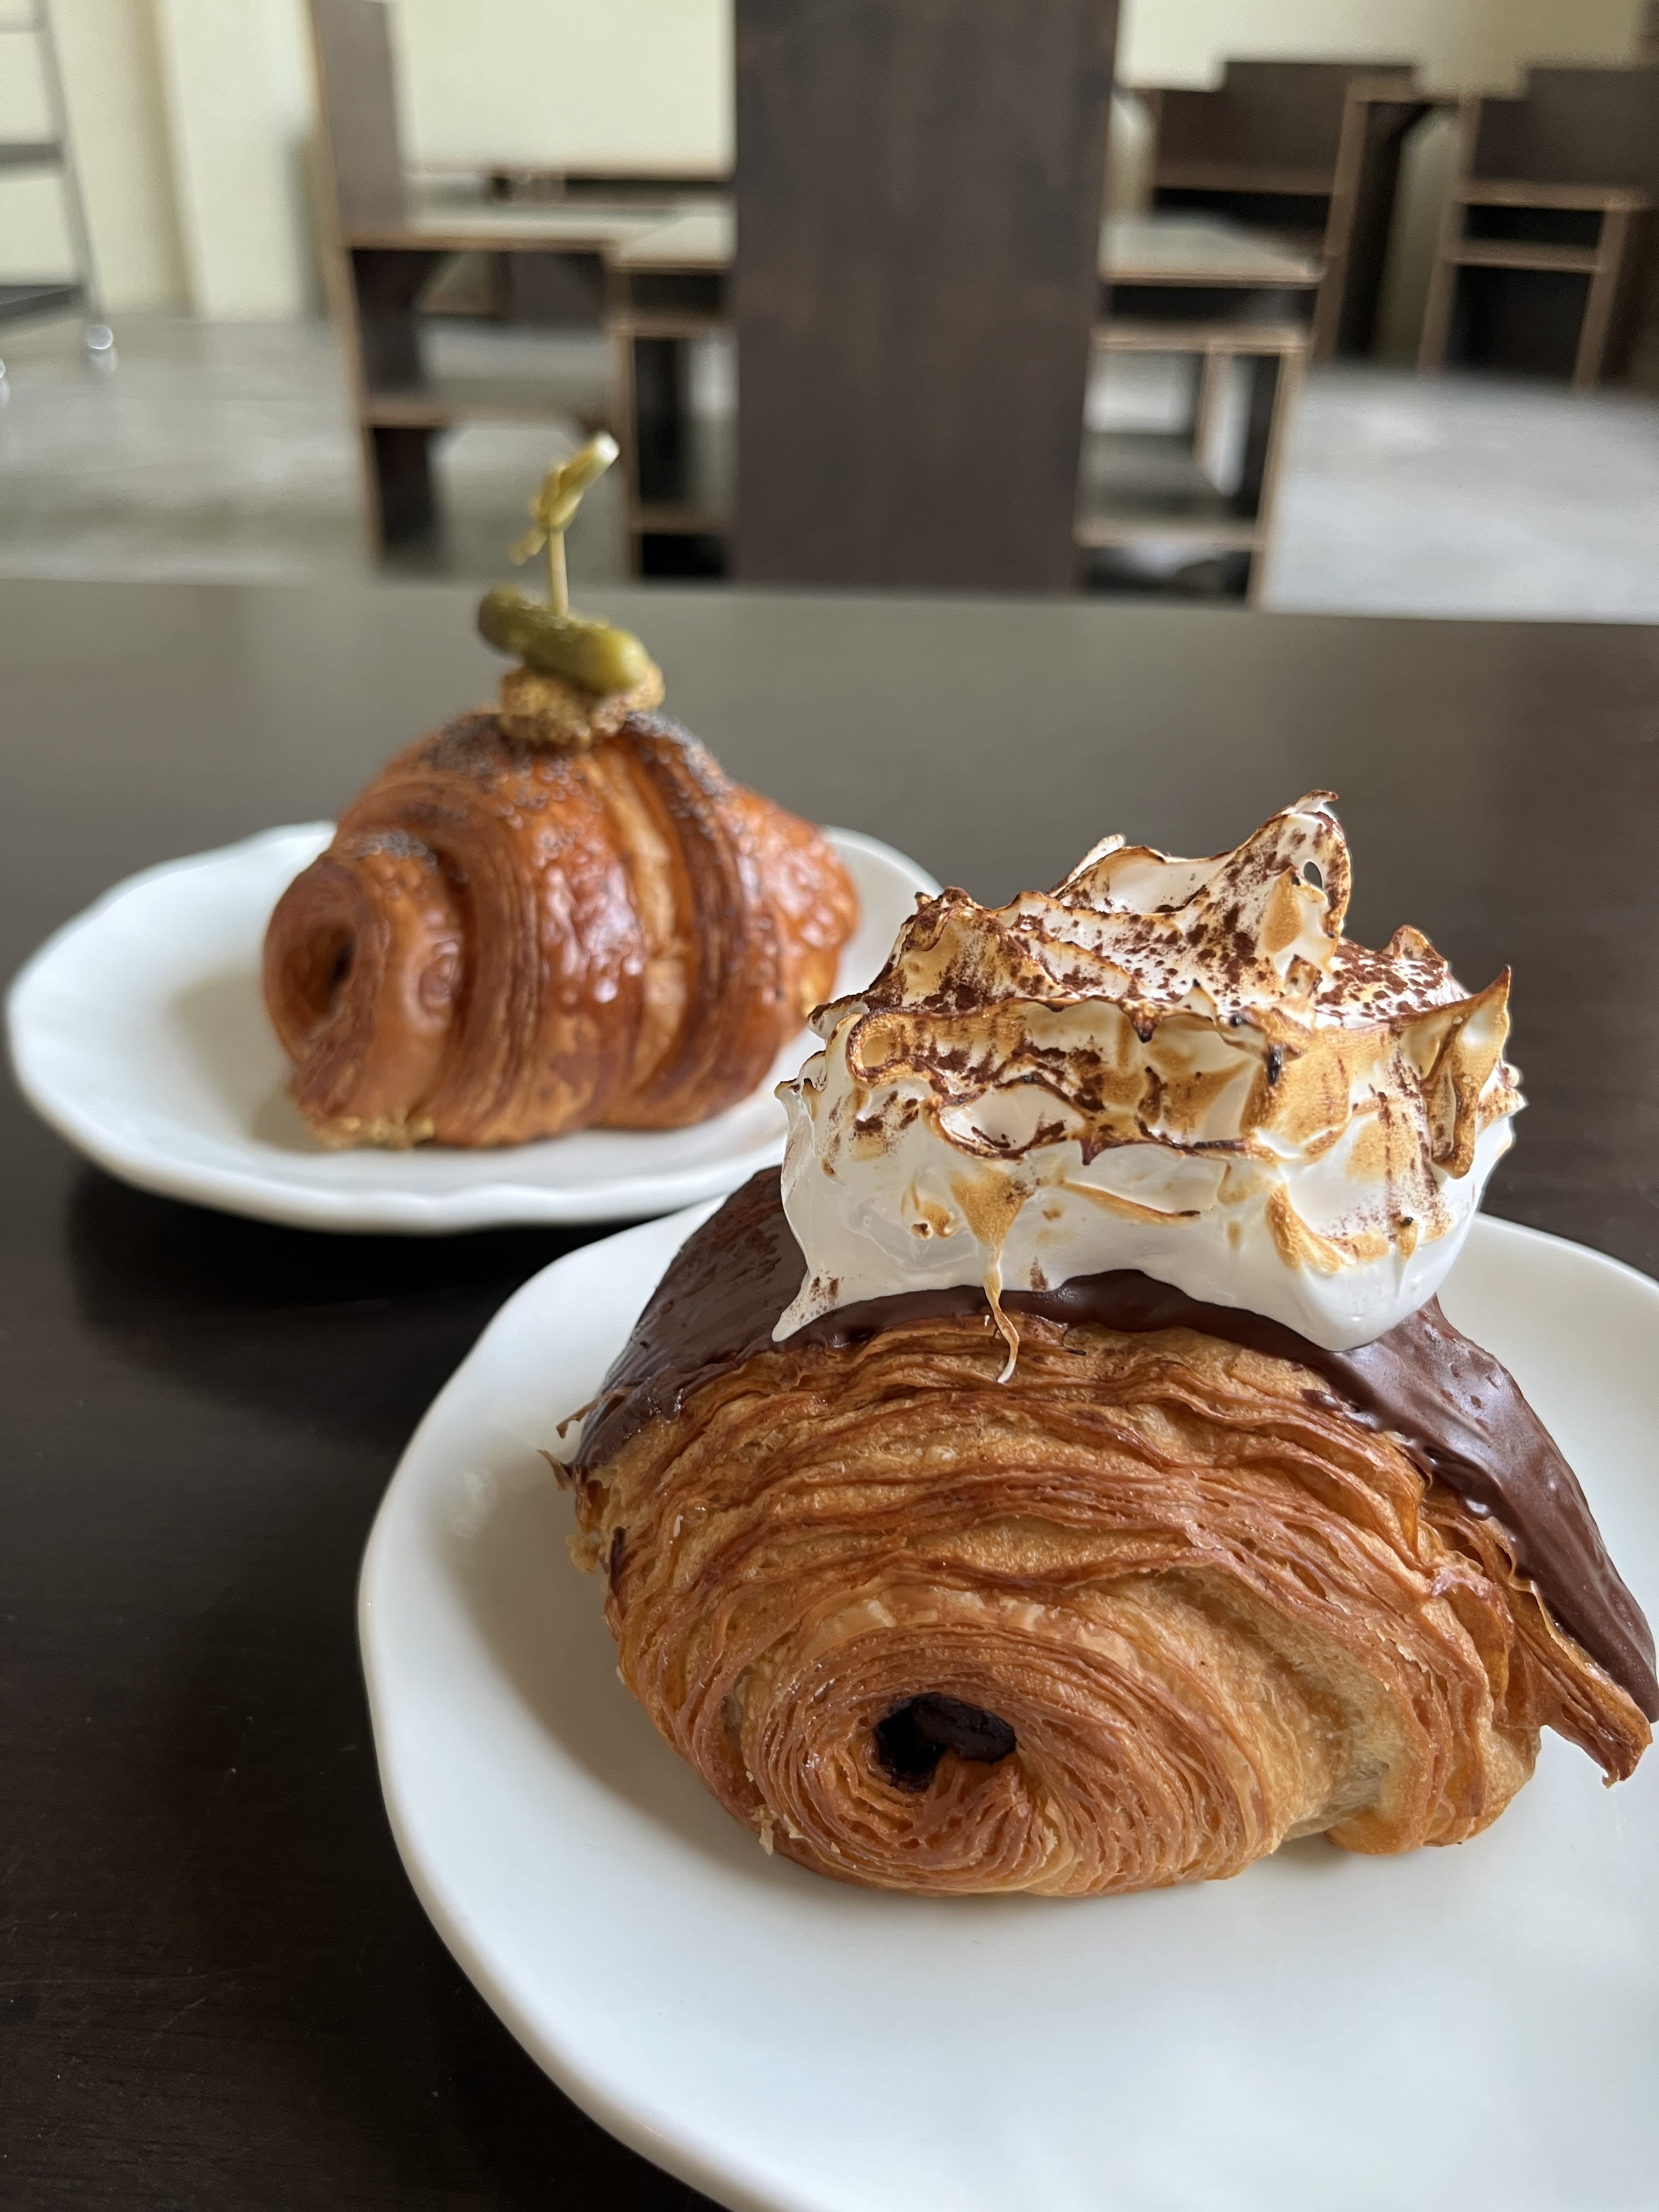
Numbers:
- Exposure -42
- Brilliance -25
- Highlights -43
- Shadow -14
- Contrast -29
- Brightness +29
- Black Points -20
- Vibrance +16
After:
Like everything creative, you don’t have to follow this guide to the dot. If you want your photos to be brighter, up the brightness; a little more mysterious, add shadows; or tweak the saturation to make them more life-like. Feel free to go ham on the controls!
Sure, there’s always the Auto enhance button, but what fun would that be? Editing your photos yourself allows them to stand out, even if you don’t have the very best photography skills. It’s also a great way to add a little personality to your otherwise dull photos!
