
We’d planned a quick grocery dash—eggs, rice, a pack of instant noodles—nothing dramatic. The courier swore my online splurge wouldn’t arrive until tomorrow, so we locked the gate and left. Two hours later, a push notification chirped: “Delivered. Left in the garage.” Great, I thought—early is better than late.
Except when we rolled back, the parcel was gone. No witnesses, no helpful street camera, just a dusty rectangle where the box had rested. That hollow feeling was the sign: I was done leaving security to chance. If you’ve felt (or fear) the same gut punch, here’s a step-by-step guide to installing a CCTV system that actually works in Philippine conditions—brownouts, sideways monsoon rain, and all.

Editor
Lloyd Kelly Miralles chevron_right
Table of Contents
Complete Step-By-Step Guide on How to Install CCTV Cameras in The Philippines
Step 1. Map Your Camera Coverage
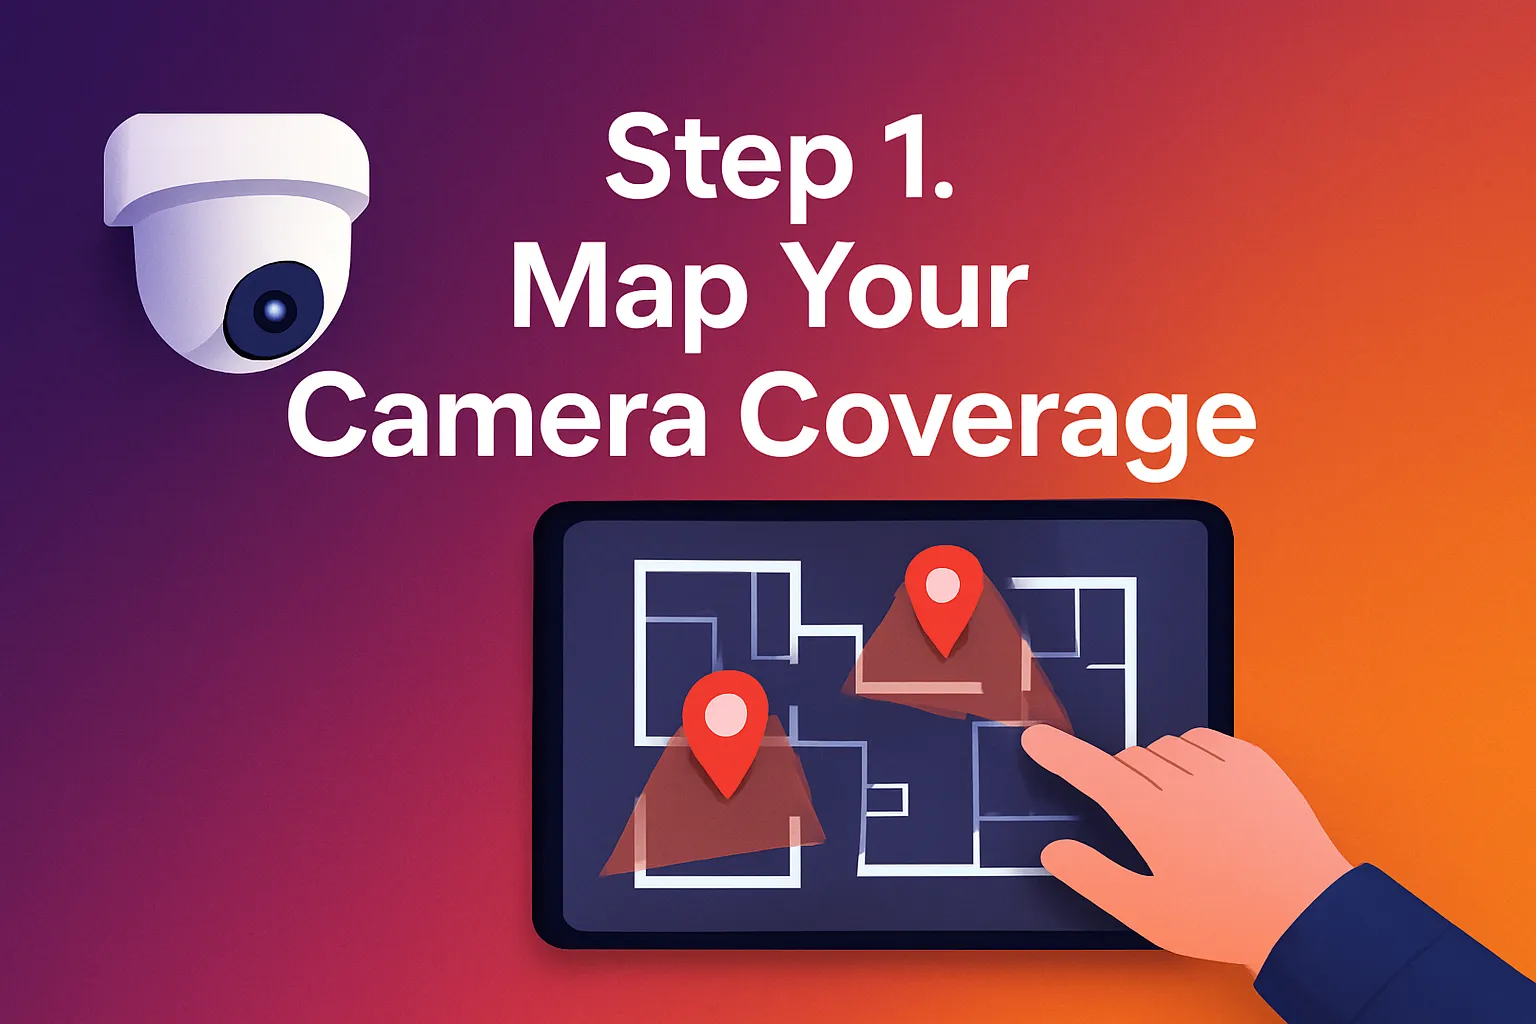
Start by walking around your property at dusk—shadows reveal blind spots, broad daylight hides. Picture yourself directing a documentary about burglars. Where would the camera angles be?
Paragraph points:
- Identify choke points. Front gate, garage door, service entrance, low windows, paths behind shrubbery—anything a person or parcel can pass through.
- Mind the sun. Morning glare from the east and a 3 p.m. frying-pan sun from the west can bleach footage, so note ideal shaded spots or consider a small visor bracket.
- Layers beat single shots. A wide-angle cam grabs movement, while a second, tighter “face cam” by the gate clinches identification.
Pro move: Pace the cable route now and jot distances; add about 20 % slack because the last half-meter always disappears into bends and staples. Snap a photo of your sketch—instant reference on install day.
Step 2. Build Your Weekend-Warrior Toolkit
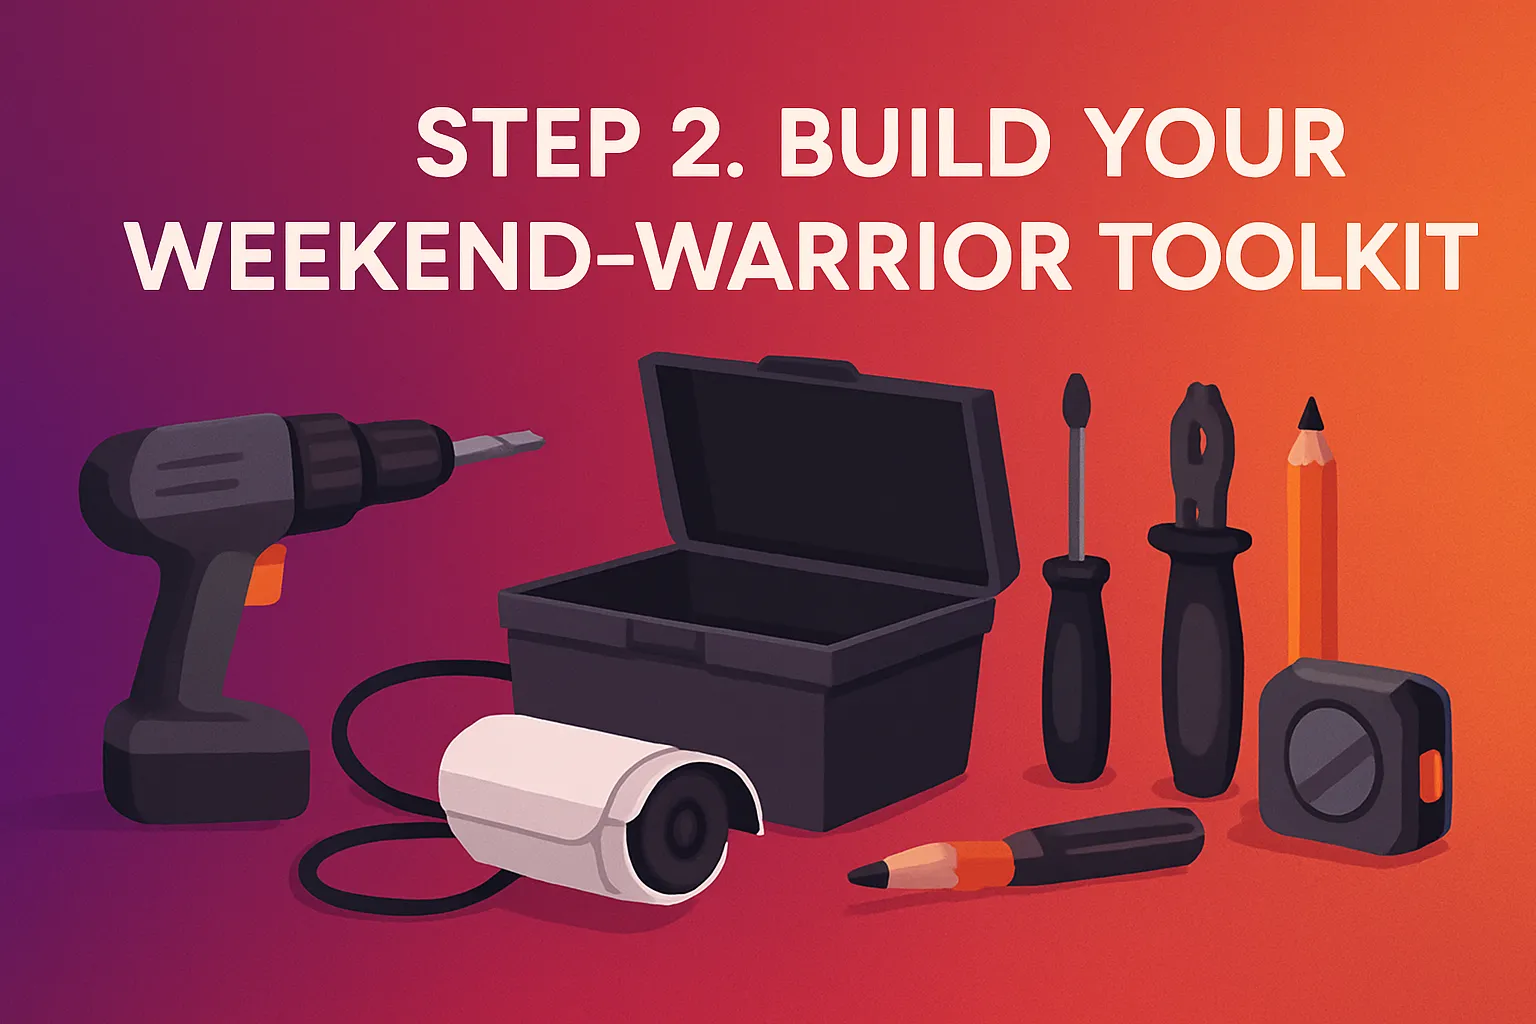
Professional installers lay out every bolt before climbing a ladder; you should too. On a sturdy table, collect:
- Drill with 6 mm & 8 mm masonry bits
- Screwdriver set (magnetic tips keep runaway screws in check)
- Sturdy aluminum ladder (skip the wobbly plastic stool)
- UV-rated PVC conduit or outdoor trunking
- Cat 6 or Cat 6a cable for PoE setups
- Fish tape or a flexible plastic guide strip
- Zip ties, weather-proof cable clips, and electrical tape
- Exterior-grade silicone sealant
- Microfiber cloth + isopropyl wipes for last-minute lens smudges
- Safety gear: gloves, eye protection, and—seriously—closed shoes
Step 3. Bench-Test Before You Climb

Lay the cameras on your dining table and power them up. Link each to the NVR or mobile app and wave at the lens. Cup your palm over the light sensor to force night mode; those faint red LEDs should glow. Record thirty seconds and play it back with headphones—crackling audio or choppy frames mean you’ve caught a dud before it’s twenty feet in the air.
Step 4. Drill Smart, Mount Secure
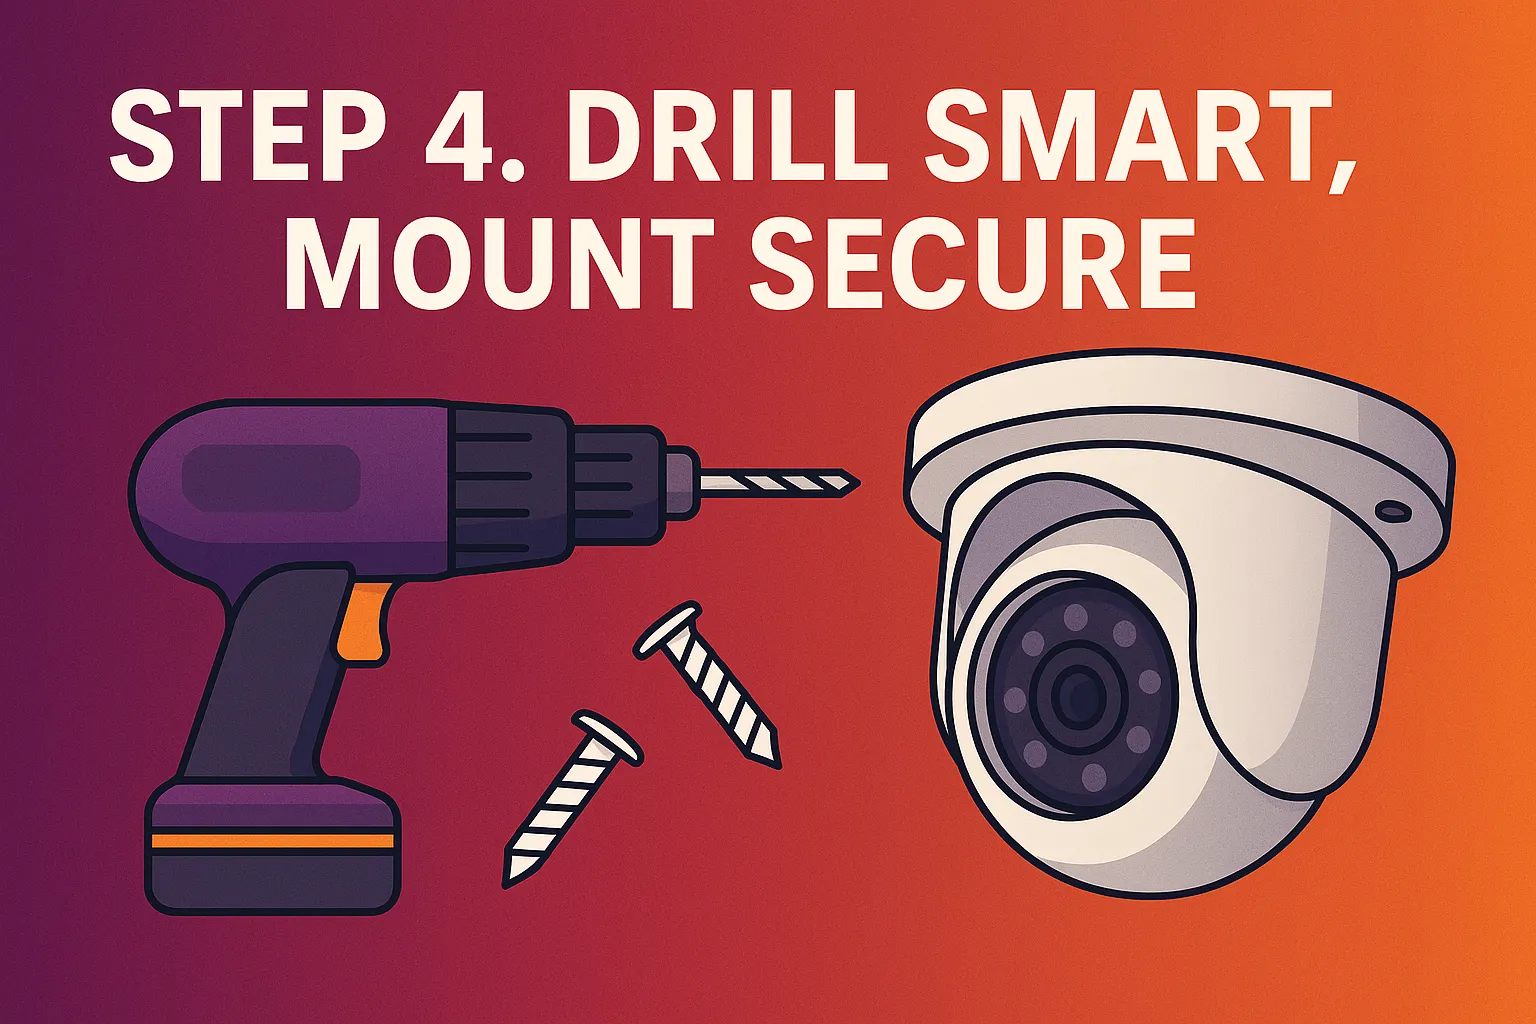
Old hollow blocks chip faster than pastillas. Use a short-burst “tap-pause-check” rhythm with your drill and slide plastic anchors in flush with the wall. The sweet-spot height is around 2.5 m—high enough to deter tampering but low enough to catch faces, not just hairlines. If your condo forbids drilling, heavy-duty outdoor tape plus a bead of silicone can keep a lightweight Wi-Fi cam in place through a Manila summer.
Attach a weather-sealed junction box between the wall and the camera base. It hides extra cable, lets you service connections without yanking the cam down, and gives your install that “done by a pro” look.
Not sure which model to install? Check out our best CCTV camera buying guide to choose a camera that’s easy to set up and perfect for your space.
Step 5. Weather-Proof the Wiring

Philippine weather is a three-season gauntlet: heat, torrential rain, and holiday fireworks that shake the eaves.
- Conduit slope matters. Run PVC slightly downhill toward the camera so sneaky rainwater drips out, not toward the house.
- Form a drip loop. Before entering the housing, let the cable dip in a U-shape; gravity pulls water away from the entry point.
- Seal everything. A bead of exterior silicone around wall penetrations keeps moisture, ants, and tiny lizards from setting up shop.
- Label both ends. Colored heat-shrink sleeves marked “Gate-Cam” or “Driveway-Cam” save detective work six months later.
Step 6. Power and Network Reliability
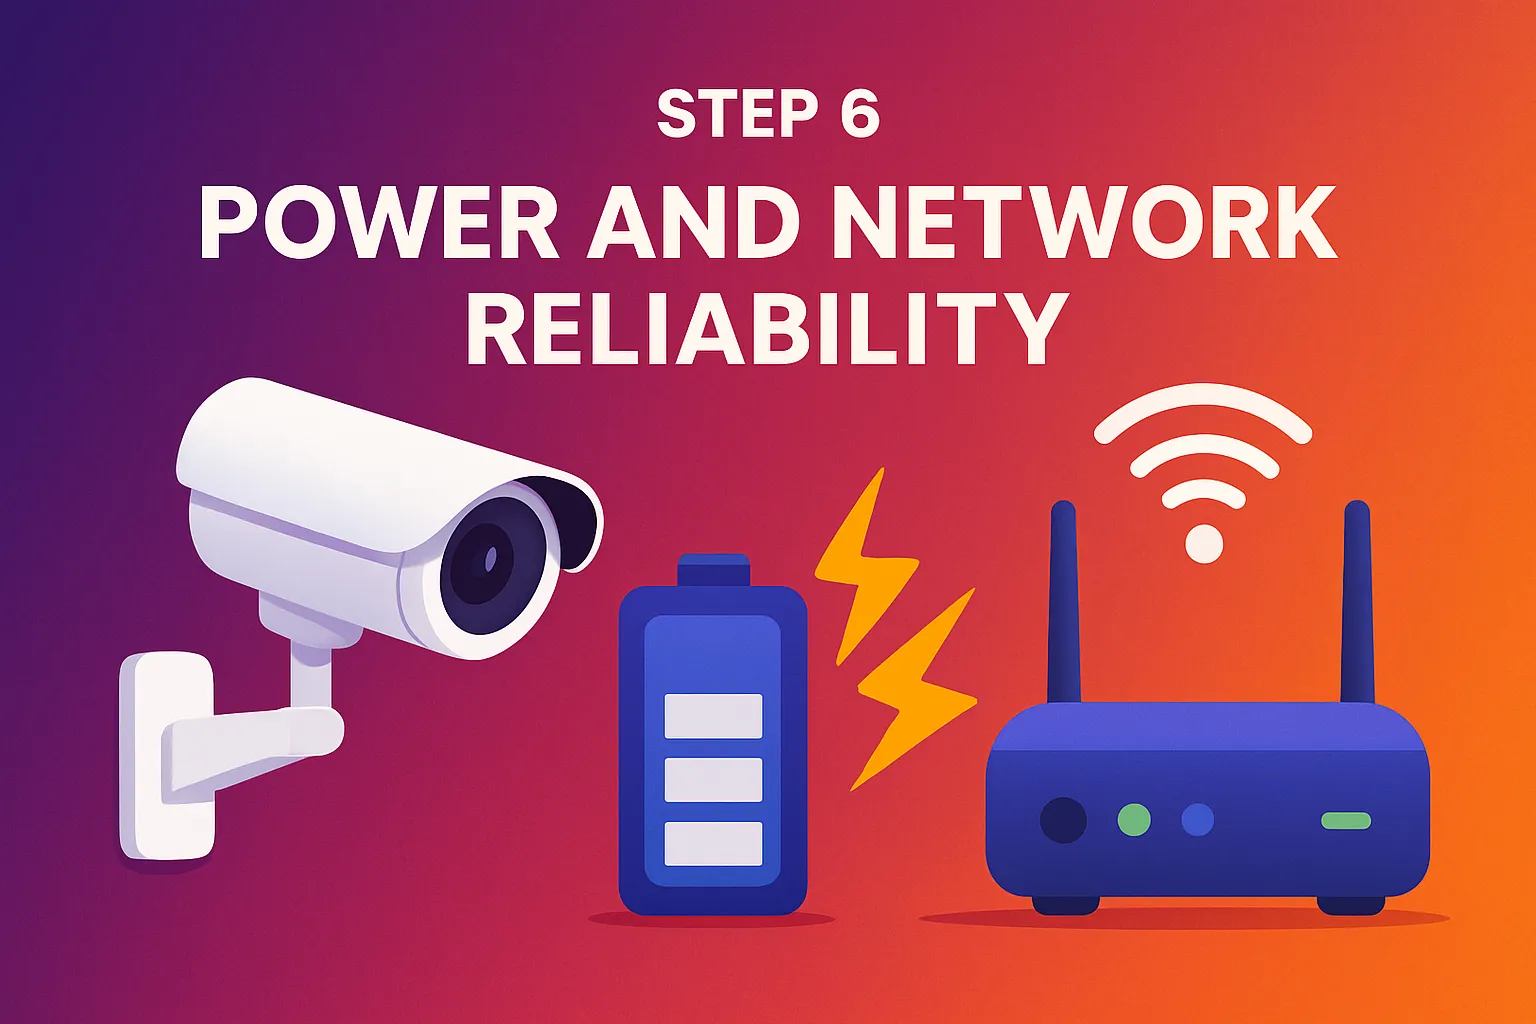
A gorgeous 4 K feed is worthless if the system coughs during a brownout.
- Size your UPS. A 1000 VA unit will keep a four-camera PoE kit plus NVR alive for roughly ten minutes, usually long enough for Meralco’s auto-recloser to settle down.
- Budget PoE wattage. Add the draw of each camera and leave 25 % headroom on your switch.
- Isolate bandwidth. Create a separate Wi-Fi SSID named something boring—say “Printer-2G”—and corral cameras there so Netflix binges don’t throttle security footage.
- Surge protection is cheap insurance. ₱600 today beats ₱6,000 in fried boards after the first lightning clap of habagat.
Step 7. Fine-Tune for Crystal Evidence
With live view open on your phone, tilt the camera until you see foreheads—eyes and mouth included—and leave extra space around doorways so a sprinting figure isn’t sliced off. After dark, walk through the frame wearing a white shirt and again in a dark hoodie; adjust infrared brightness or add a warm porch bulb if you glow ghost-white.
Print a sample plate number in large Arial Black and hold it where a car would sit. If you can read it, so can the police.
Step 8. Lock Down the Software

Good footage needs good management, so this is the second (short) bullet list for clarity:
- Rename cameras clearly: FrontGate_HD, Garage_4K, etc.
- Carve motion zones to ignore swaying bougainvillea leaves.
- Combine 24/7 recording on key doors with motion-only on quiet sides to save disk space.
- Use H.265 or H.265+ codecs to halve file size.
- Change default admin passwords and enable two-factor login on day one.
Everything else—frame-rate math, retention schedules—lives happily in paragraph form within your NVR manual.
Step 9. Stress-Test the System

Recruit a friend, hand them a hoodie, and have them crawl, jog, and carry a box past each lens. Watch in real time, tweak sensitivity, and repeat until triggers fire instantly. Let the system run overnight and review footage with morning coffee; low-light noise loves to hide until daylight.
Step 10. Keep a Paper Trail

Screenshot every settings page and stash it in a password-protected note. Tape a laminated cheat sheet (router IP, NVR login, PoE port map) behind the recorder. When a rogue surge resets everything in March, you’ll be sipping iced tea, not tearing your hair out.
Conclusion
Step off the ladder, wipe the sweat, and toast your handiwork with ice-cold calamansi juice. Pull up the multi-view grid: gate razor-sharp, garage crystal clear, parcel poachers officially on notice. A Saturday’s sweat, a handful of tools, and you’ve turned “missing package” into “nice try.”
Related Articles:
- How to Choose the Right CCTV Camera
- How to Maintain Your CCTV System
- Troubleshooting CCTV Camera Issues
- Analog vs IP CCTV Cameras
- Best CCTV Cameras in the Philippines