

Editor
Lloyd Kelly Miralles chevron_right
Table of Contents
Getting Your Pocket Wi-Fi Device Ready to Go
Okay, so you’ve just unboxed your shiny new pocket Wi-Fi device—whether you grabbed it during a mega sale on Shopee SG, Lazada SG, or Qoo10, or you picked it up from Carousell to save a few bucks. First off, congrats on your purchase! If you're like most Singaporeans, you probably got a solid deal (hey, who doesn't love a good 9.9 or 11.11 sale with cashback, right?). But now, the big question: How do you get this thing up and running?
Well, let me walk you through it. Spoiler alert: It’s much simpler than you think.
Charge Your Device
You’re probably eager to jump in and start streaming your favourite shows or browsing Instagram on the go, but patience, grasshopper. First, you’ve got to charge your pocket Wi-Fi. Most pocket Wi-Fi devices come with a USB cable and wall adapter, so plug it in and wait for it to juice up—just like you would with your phone.
Pro Tip: Singapore's humid weather can sometimes cause your pocket Wi-Fi to overheat if it's in direct sunlight or a closed, stuffy space. So, make sure it's in a cool, well-ventilated area while charging. Plus, it'll save you from that annoying, slower battery drain if you leave it in a bag that's packed with all your MRT essentials.
Insert the SIM Card
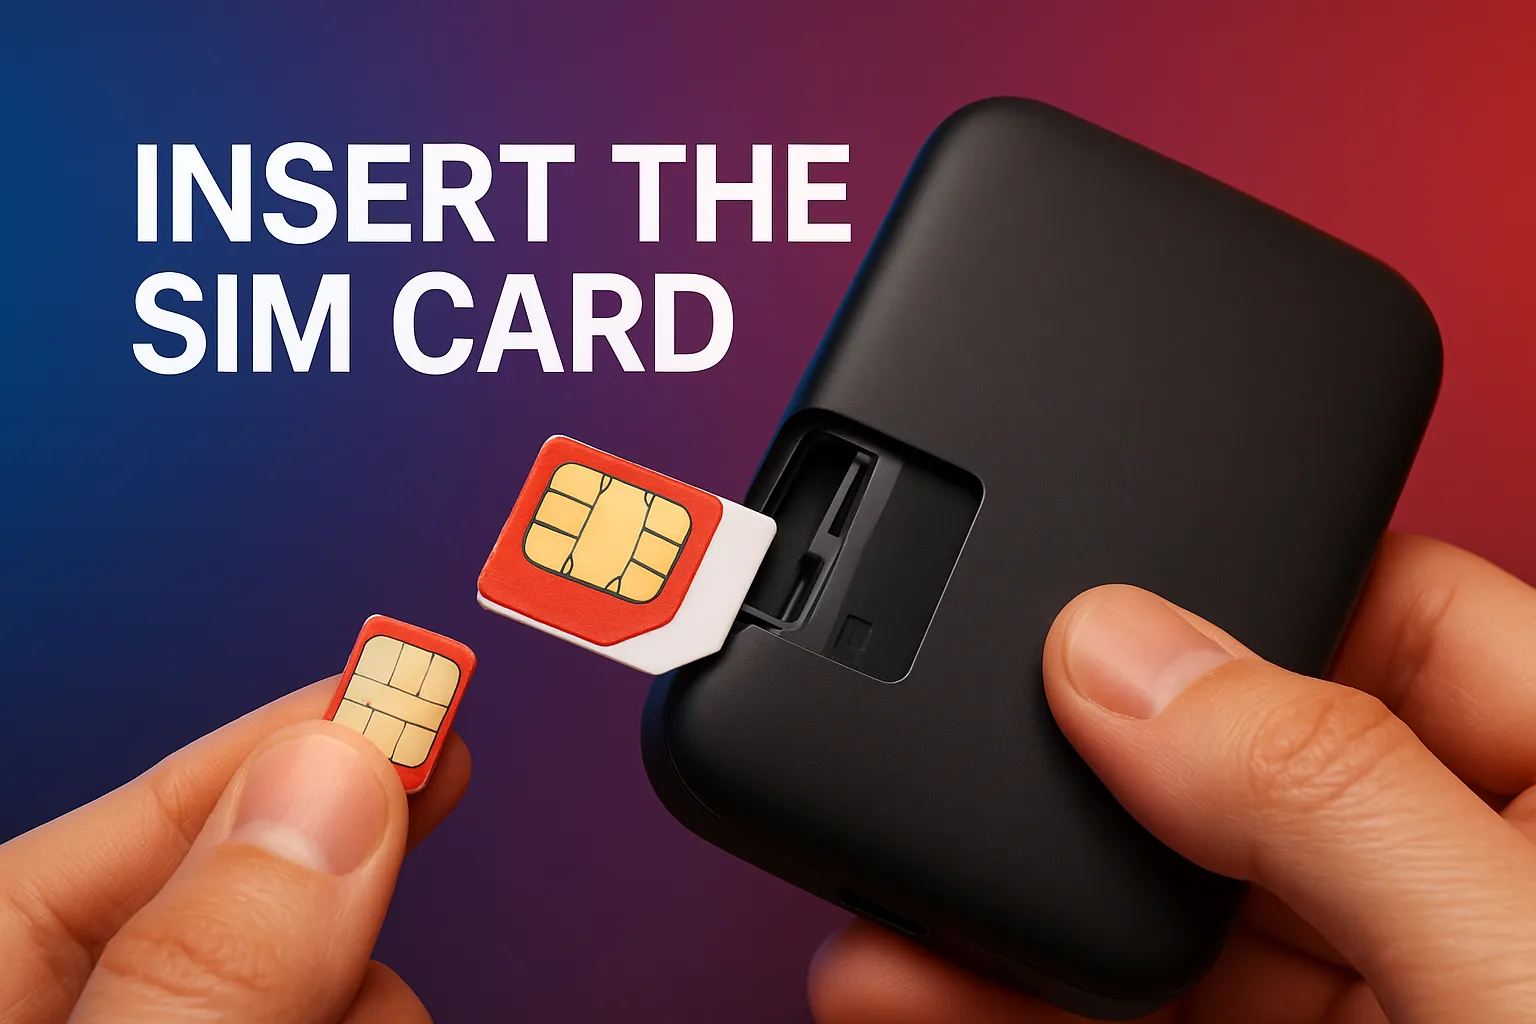
Alright, now comes the fun part—getting your device connected to the internet. Pocket Wi-Fi devices use SIM cards, so you'll need one before you can start surfing the web. For Singaporeans, Singtel, StarHub, and M1 are your go-to telcos for mobile data plans, but there are also other budget-friendly options like TPG (they offer some affordable plans, especially good for light data users).
How to insert the SIM card:
- Find the small SIM card slot on your device (usually located under a cover on the back or side).
- Insert your micro SIM (or nano SIM, depending on the model) carefully.
- Close the cover and give it a little push to make sure it’s secure.
If you’re on the hunt for a budget-friendly deal, you could also get a SIM-only plan or grab a prepaid SIM from your local convenience store. Pro tip: Check your data allowance to make sure you don’t run out of data halfway through a Netflix binge!
Power On and Connect
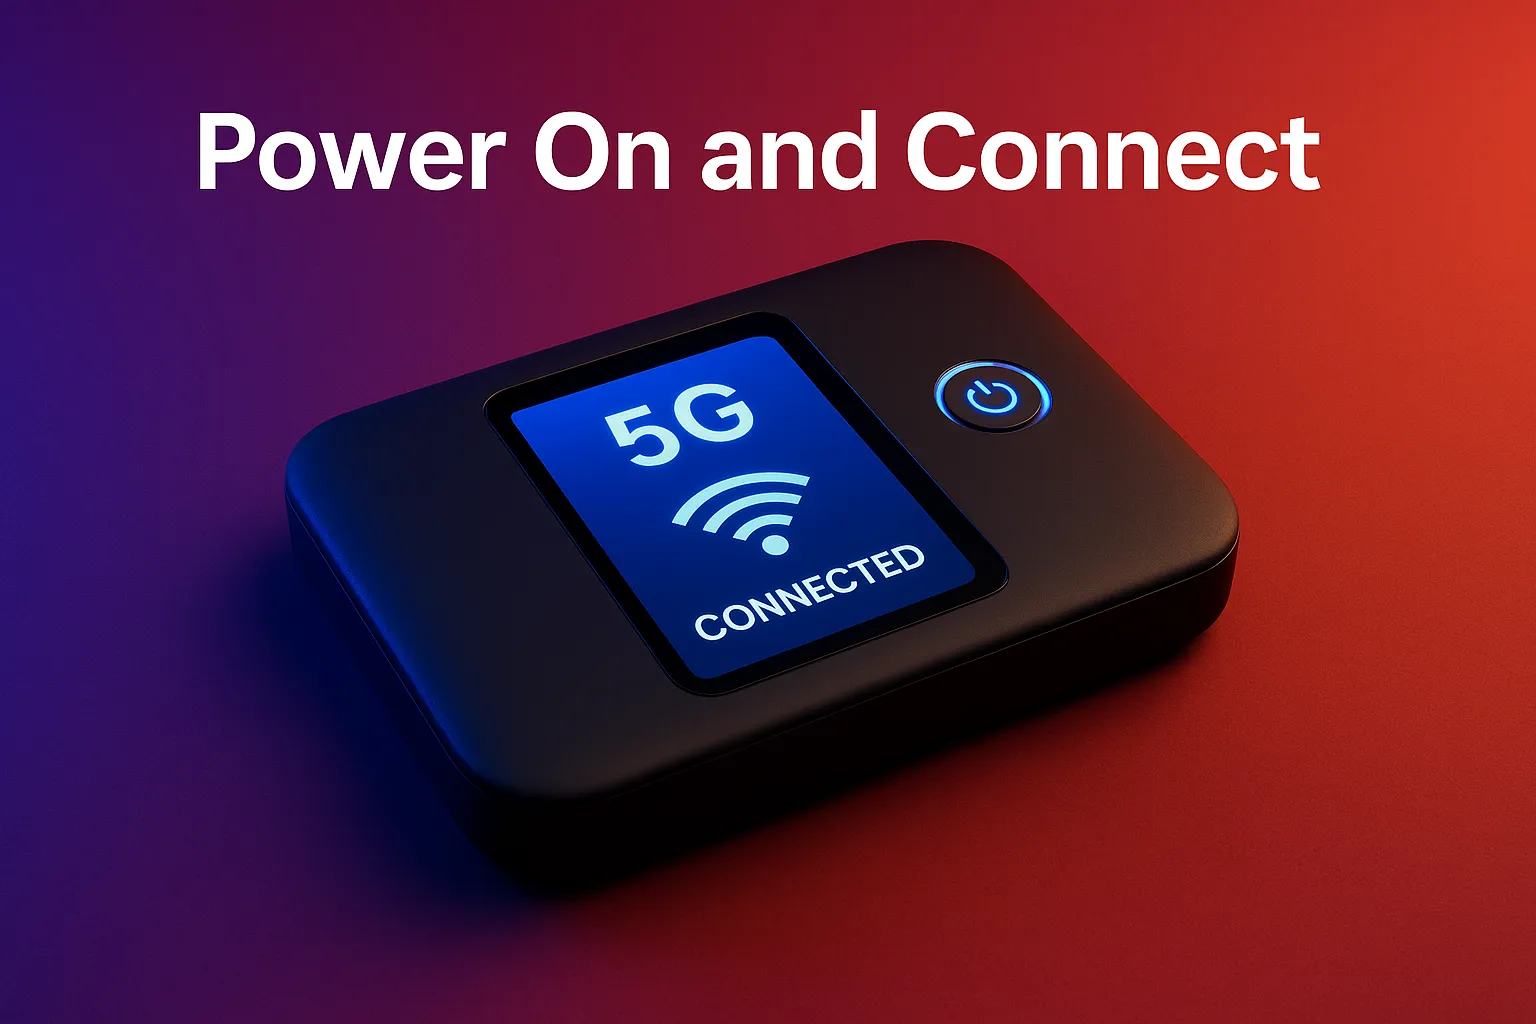
Once your SIM is in, power up the pocket Wi-Fi device by holding down the power button for a few seconds. Depending on the model, you might see a flashing LED or LCD screen that indicates the device is booting up and connecting to the network. Most devices should automatically start searching for a mobile network signal.
Pro Tip: When you’re out and about in crowded places like Orchard Road or Raffles Place, don't be surprised if the connection takes a little longer to find a strong signal. Singapore is known for its high network density, and if you’re in a busy area, the network might be a bit congested.
Configure Your Wi-Fi Settings
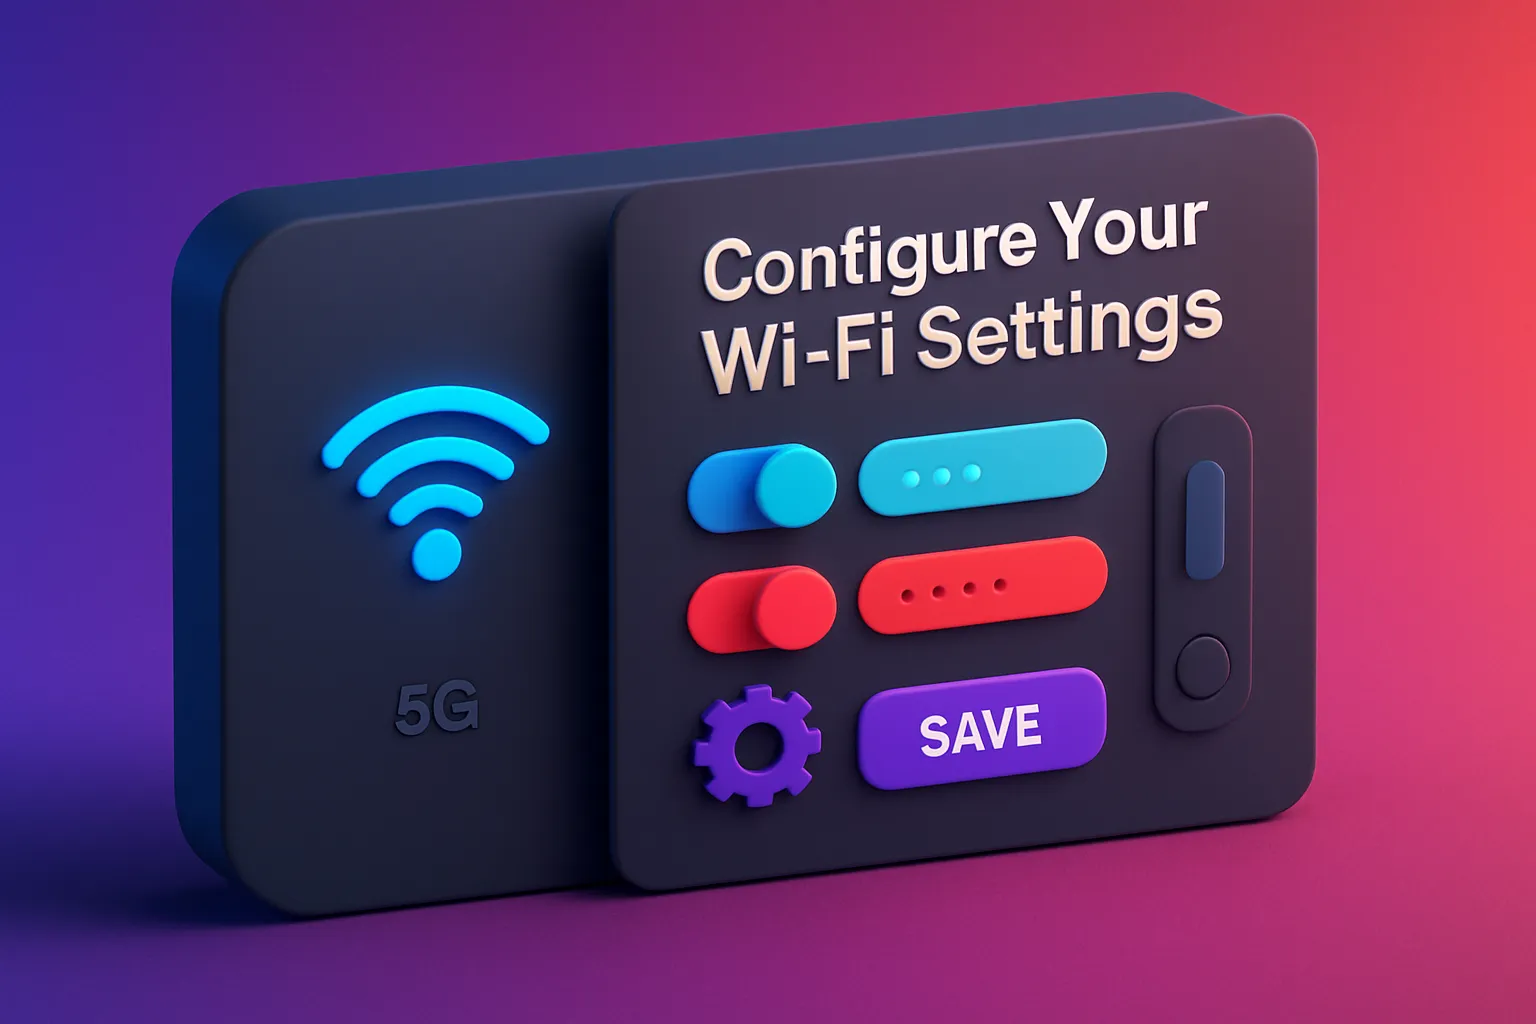
Alright, now you’re ready to configure your device. Most pocket Wi-Fi devices come with a default Wi-Fi network name (SSID) and password. You’ll need to log into the device to change these if you want to make things more personalized (for example, setting your network name to “SG_DataKing”).
How to configure:
- Open the Wi-Fi settings on your phone or laptop.
- Look for the Wi-Fi network with the name corresponding to your pocket Wi-Fi device (it should appear as a default SSID like D-Link_1234 or TP-Link_5678).
- Enter the default password (usually found on the device itself, or in the user manual).
- After you’re connected, open your browser and type in the IP address listed in the user manual to access the device’s settings page. You’ll usually find this in the form of 192.168.x.x.
- Log in using the username and password provided in the manual (often something like admin/admin).
- From here, you can change your Wi-Fi name and password to something more memorable, like “MySgWiFi”.
Set Up Data Limits and Other Preferences
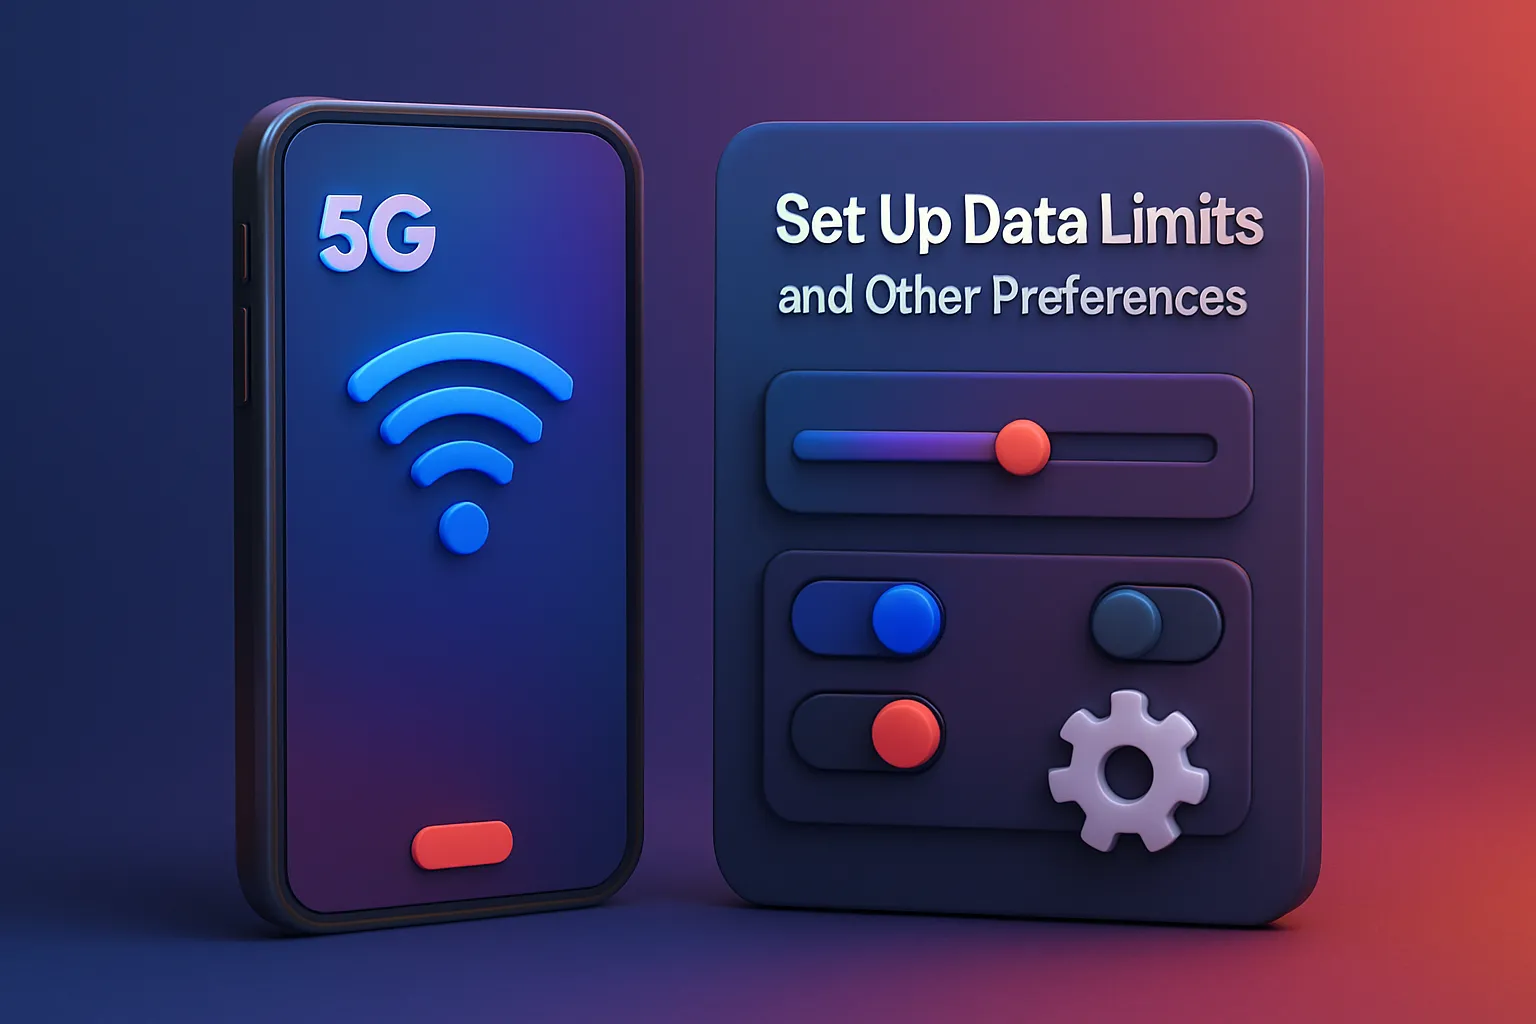
If you’re someone who likes to keep track of your data usage (because let’s face it, Singapore’s mobile data plans can get pricey if you go over), check if your device allows you to set data limits or alerts.
Pro Tip: Singapore’s unlimited data plans can be tempting, but if you're on a budget and use mobile data moderately, consider switching to a data-sharing plan with your family or group. It'll save you a ton on those M1, Singtel, or StarHub plans.
Test Your Connection

You’ve done the hard work, now it’s time to test everything out! Connect your phone, laptop, tablet, or any other devices to your newly configured pocket Wi-Fi. Try streaming a video, browsing social media, or checking email to make sure everything’s working smoothly.
Pro Tip: If you're out in the heartlands, be aware that 5G networks are still rolling out in Singapore, and you might have to rely on 4G for now in more suburban areas. But no worries, 4G is still great for general browsing, streaming, and light work.
Troubleshooting

Alright, so what happens if things don’t go as planned? Don’t panic—first, try the simple stuff:
- Restart the device: Switch it off and on again.
- Check the SIM card: Make sure it’s properly inserted. Sometimes, it’s the little things!
- Signal strength: If you're in an area with weak coverage, try moving to a more open space or higher ground.
- Reset to default: If everything else fails, you can always reset your device to its default factory settings using the button or option in the settings menu.
Conclusion
There you go, all set up and ready to roll! Getting your pocket Wi-Fi up and running in Singapore is a breeze, whether you’re grabbing one on a flash sale from Shopee SG or using it during your daily MRT commute. And let’s be honest—there’s nothing like that feeling of seamless internet wherever you go. So, whether you’re out at a hawker centre with your friends or catching up on work in a cafe, your pocket Wi-Fi will be there to keep you connected.
Just don’t forget to keep an eye on your data usage and battery life, especially if you're a heavy user—nobody likes being caught without Wi-Fi when you need it most!